#topten

Top Ten: Backpack Tips

AdobeStock_70665822.jpeg

If you’ve seen me around town, I’m usually carrying my bright blue backpack on my shoulders and either zipping around on my bougie cruiser bike (and my new wicker basket!) or walking while zoning out to a podcast. Backpacks are my favourite way to carry my essentials while keeping the weight happily distributed and my hands free.

Like most people I know, I have fallen victim to poor backpack habits in the past. I have definitely been that person in class treating my pack like a clown car, pulling out item after item and desperately trying to find the thing I need. At the end of those days, it was all I could do to pop an Advil and get in the bath - not exactly the smartest thing to do.

So, dear reader, it’s a great time to learn from my mistakes! Let’s go over the essentials of backpack wearing - how much weight is appropriate, how to pack your backpack and what red flags you should pay attention to.

Top Ten Backpack Wearing Tips for Back To School:

AdobeStock_82597624.jpeg
  1. Ensure your pack weighs no more than 10% of your body weight. We commonly hear that 15% is the upper limit, but current research questions this number. Another journal article identifies “significant biomechanical, physiological and discomfort impacts on the wearer, especially with loads above 10% of the student’s body weight”. The take home? Keep it under 10%.

  2. Buying a new pack? Go for wide straps and a padded backing. The cushion will help distribute the weight and make it much more comfortable especially on long days.

  3. While you’re at it, make sure the pack actually fits your back. Try it on (preferably with some weight) - the bottom of the back should be right around hip height and not hitting your bum.

  4. Use both straps. Please, for the love of everything holy, distribute that load across both your shoulders.

  5. If your pack is particularly heavy one day, use the waist strap. It will help keep the load closer to your centre of gravity and distribute some of the weight from your shoulders to your pelvis.

  6. Place heavy things close to your body at the back of the pack. There’s a reason the laptop pouch is at the back of the bag (beyond the whole projecting the valuable thing part) - it keeps the weight close to your body’s centre of gravity and places less stress on your muscles and joints.

  7. Use those multiple compartments. They keep your load spread out and in place, reducing the chance of injury from load shifting.

  8. Putting your backpack on and off should be easy. If you’re struggling, it means your pack is too heavy.

  9. If you’re leaning forward to carry your pack, it’s too heavy. Your backpack shouldn’t be pulling you backwards. If it is, back pain won’t be far behind.

  10. Other signs of too much weight in your pack: neck pain, tingling and/or numbness in your shoulders, arms or hands, and visible strap marks show up on your shoulders. If you start experiencing any of these signs, it’s time to re-evaluate your pack situation ASAP.

We see a lot of poor backpack practices lead to postural changes and pain. Develop good habits early and avoid the problems down the road - you’ll be happy you did!

If you’re suffering with backpack-related pain, give us a shout at (778) 630-8800, email us or book online.

Ask A Physio: Any Tips for Mouse Finger Pain?

AdobeStock_294358654.jpeg

So I don’t know about you, but COVID has certainly pushed me to using my computer a lot more. A. Lot. More. My body is feeling it, too - my neck is stiffer than it was, my hands are tired and my shoulders make a lot of noise after a long session on the computer.

We know that prolonged postures of any kind - standing in one spot, sitting still - aren’t great for anyone. Our bodies are for movement and all too often we get stuck in postures for hours at a time. When that prolonged posture is on the computer, that finger and wrist pain is often directly related to the position of the neck and shoulder as much as it is the wrist and hand.

So what should you do? The best thing you can do is set an alarm for 30 minutes and make a point of moving and stretching your body. If you have two minutes (or less!), this movement and stretching routine can help combat the stiffness and soreness associated with prolonged computer use.

Without further ado, presenting:

Top Ten Exercises for Computer-Related Pain

AdobeStock_151993350.jpeg

1. Shake it out! - I love a good shake - who doesn’t? Sit up straight, take your wrists and hands and give them a good shake, letting your fingers fly.

2. Chin to chest - Something we often forget is how much posture contributes to pain further down the chain. Sit up straight and tuck your chin into your chest, feeling a stretch down the back of your neck. Hold this for 10ish seconds.

3. Ear to shoulder, then a twist - Still sitting up straight, lean your ear to your shoulder and hold it for about 10 seconds. Then twist your head so your nose gets closer to your armpit; hold this for another 10 seconds. Repeat on the other side.

AdobeStock_264162260.jpeg

4. Shoulder rolls - Still sitting up straight (are you sensing a theme yet??), roll your shoulders up to your ears then squeezing them back and down, pushing your shoulder blades as far down your back as you can. Bring your shoulders forward then back up to your ears. Do this 5 times.

5. Wrist stretch - Stretch your right arm in front of you and bend your wrist and fingers back. Use your left hand to pull your right fingers further back, feeling a stretch in your forearm. Hold for 10ish seconds and repeat on the other side.

6. Prayer stretch - Place your hands together in a prayer position in front of your chin. Lower your hands down, keeping your palms together and feeling a stretch in your forearms. Hold for 10ish seconds.

AdobeStock_331129900.jpeg

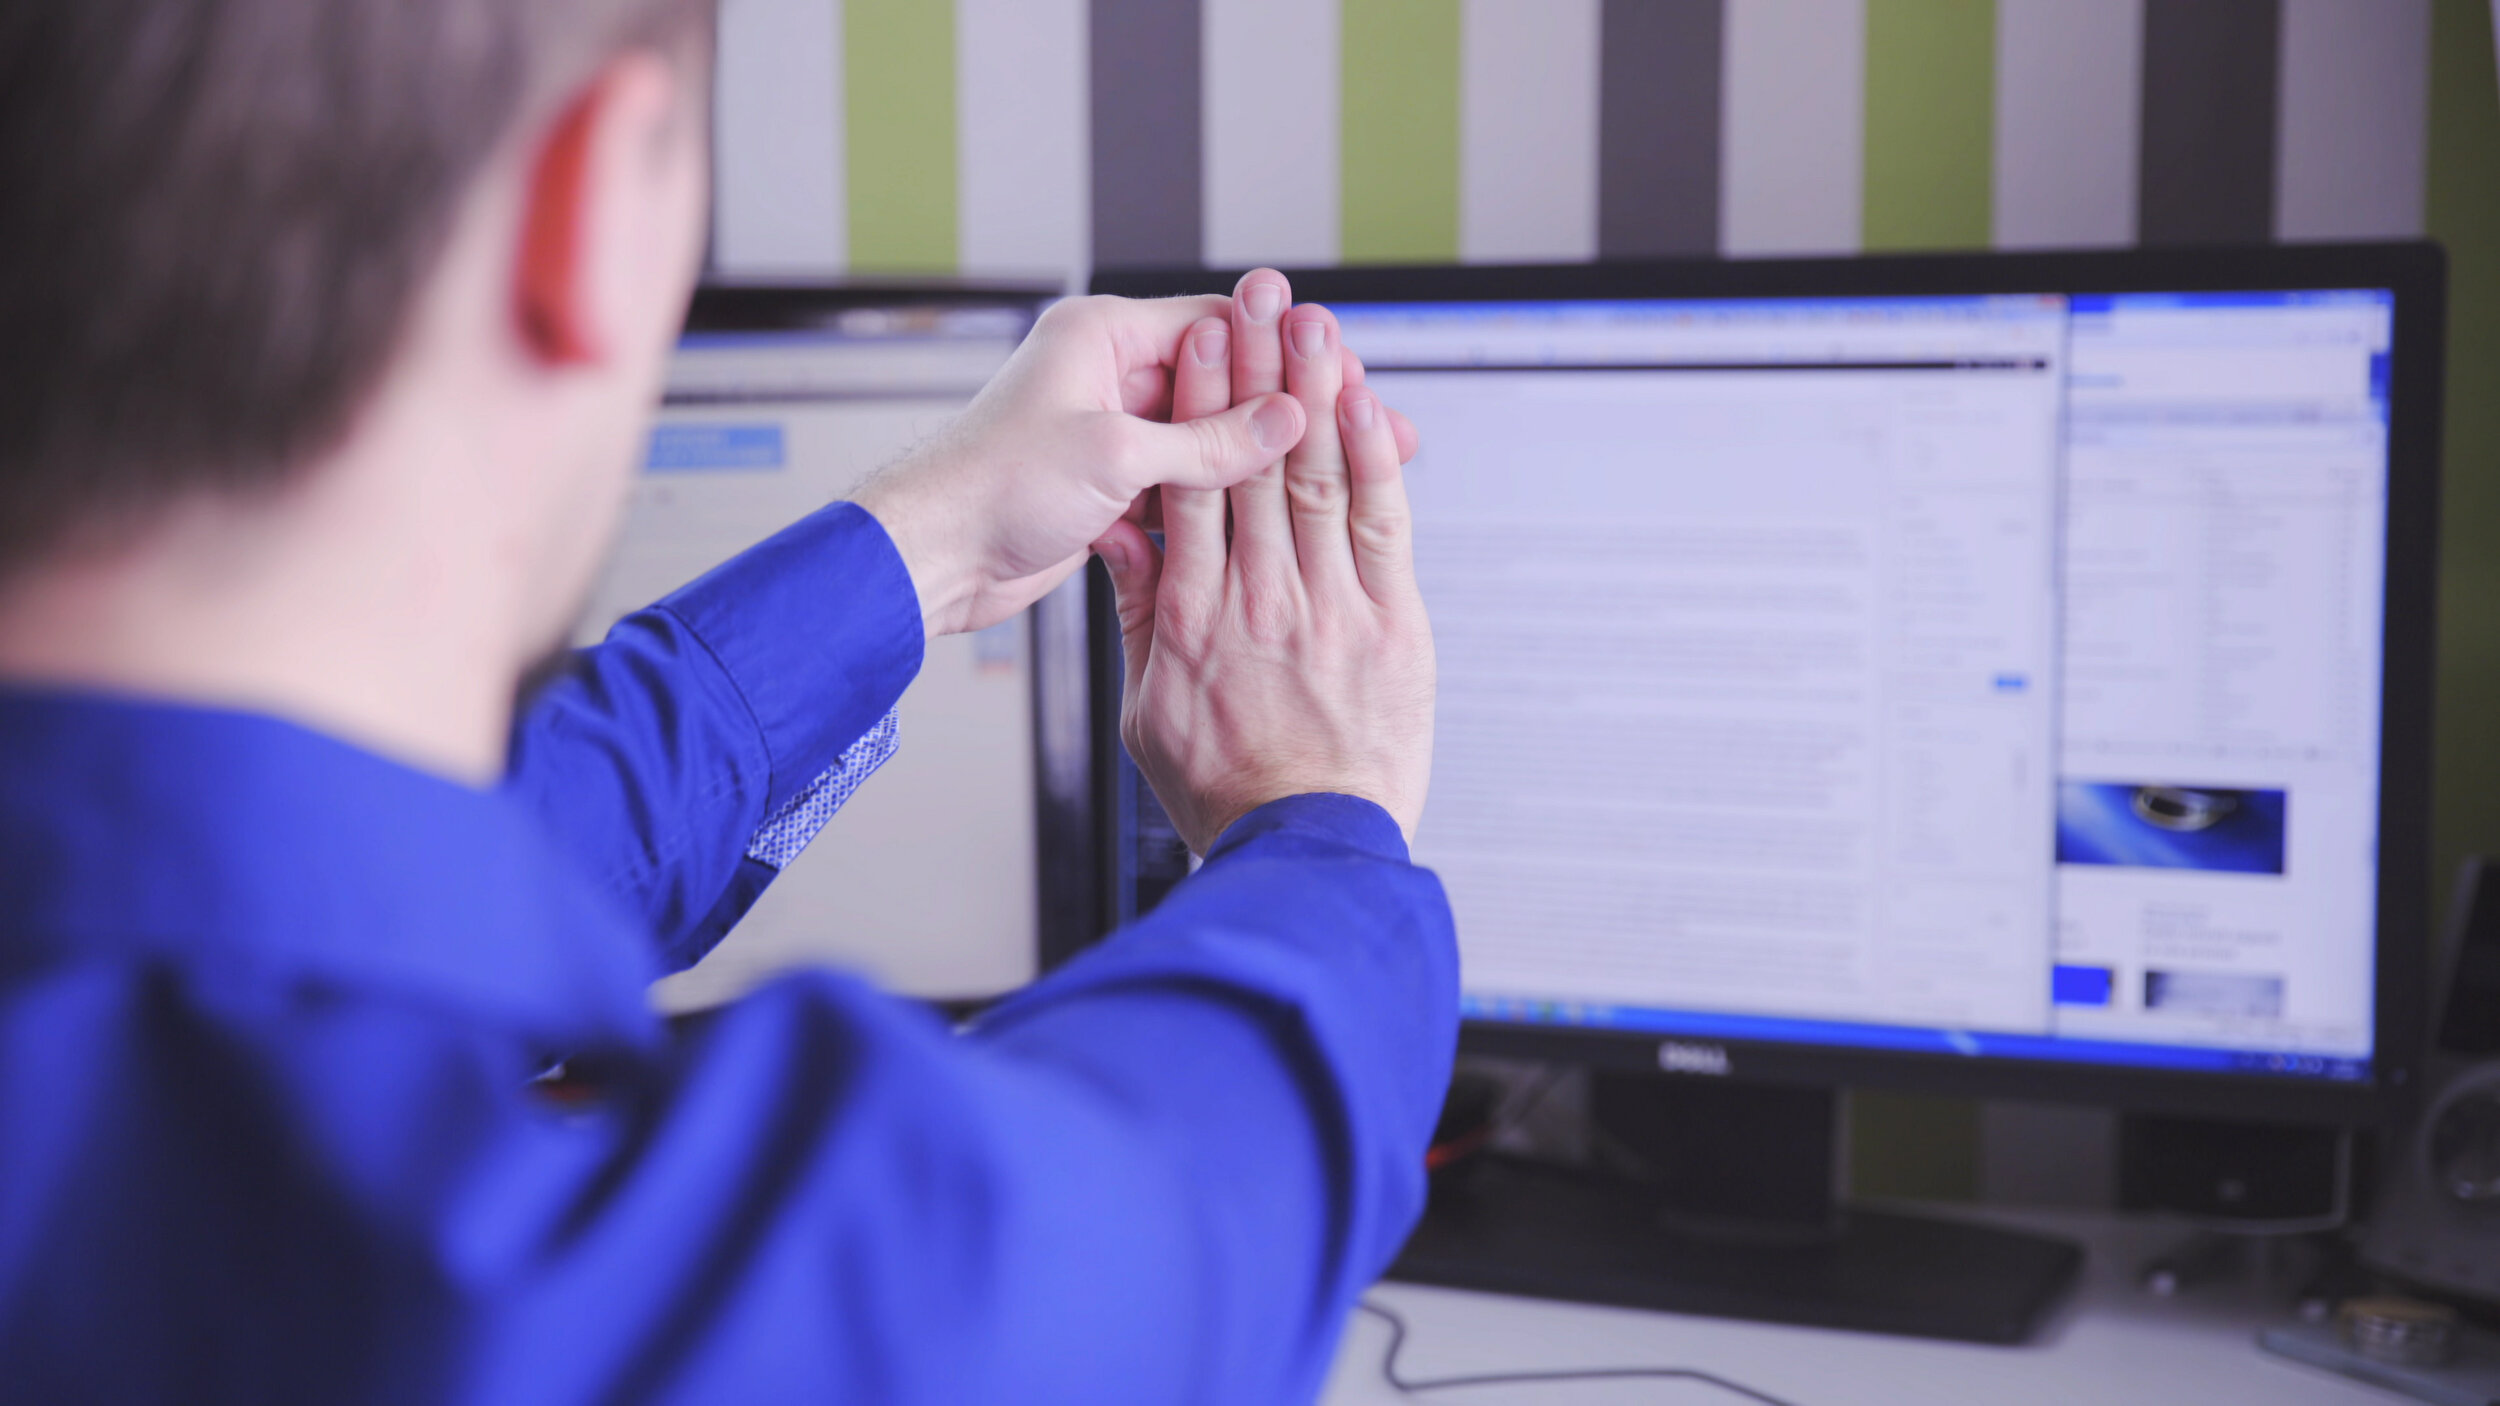
7. Finger stretch - Place all your finger tips together - think Mr. Burns from the Simpsons - and push your fingers together. Keep your fingers together and pull your palms away from each other. Stretch your thumbs away from your other fingers. Feel a stretch for 10ish seconds.

8. Wrist circles - Draw circles with your wrists! 5 in one direction, 5 in the other.

9. Hand fist and open - Squeeze your hands into tight fists for a few seconds. Then stretch your hands out wide, reaching your fingers out as far as you can for a few seconds. Repeat 5 times.

10. Finish this off with a final shake!

Looking for a print out of this program? Here it is in PDF form, with pictures!

The better you support your body with proper ergonomics (see our previous two ergonomic blogs here and here) and frequent movement breaks, the less likely you’ll suffer from computer related pain. So set that alarm, stretch it out and stay pain free!

As always, if you would like to book an assessment with one of our fabulous physiotherapists or our amazing massage therapist, give us a call at (778) 630-8800 or email us at clinic@ladnervillagephysio.com.

Finally - do you have a burning question one of our physiotherapists can answer? If you’d like to #askaphysio, we would love to answer!