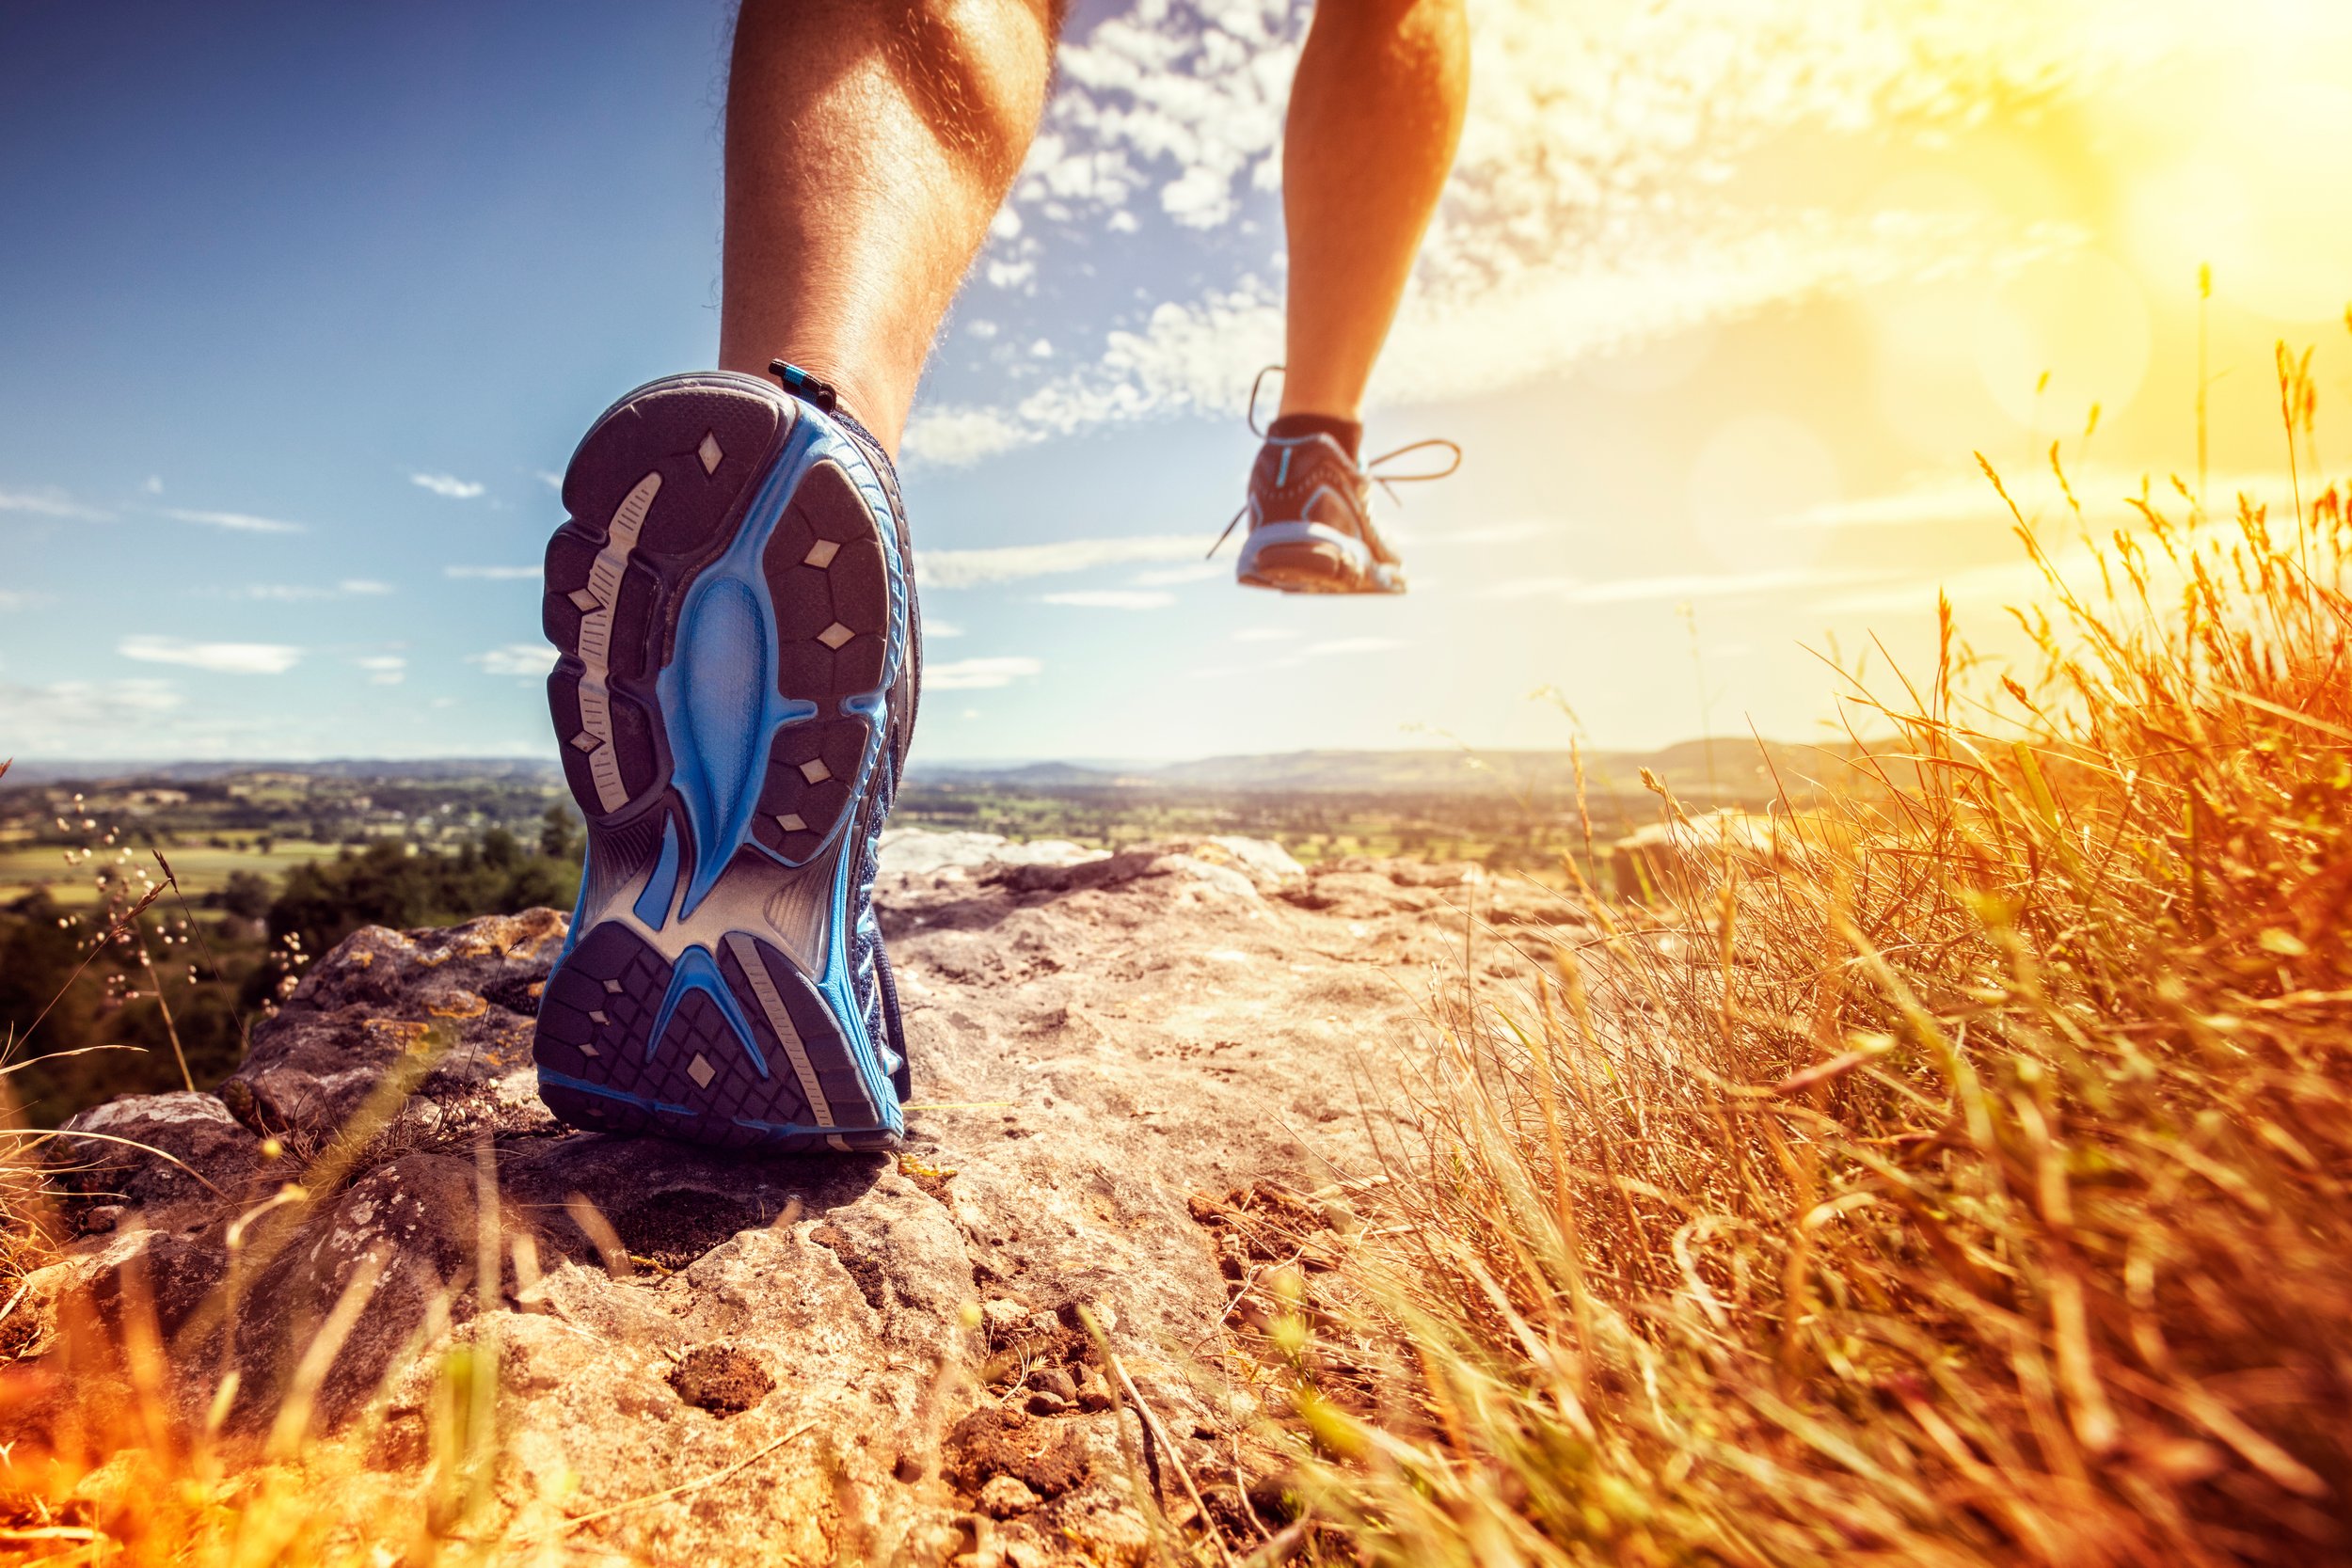
It’s the beginning of the year, a time where many people vow to increase their activity levels. As physiotherapists we think that is wonderful. We love physical activity and exercise and want to help you reach your goals.
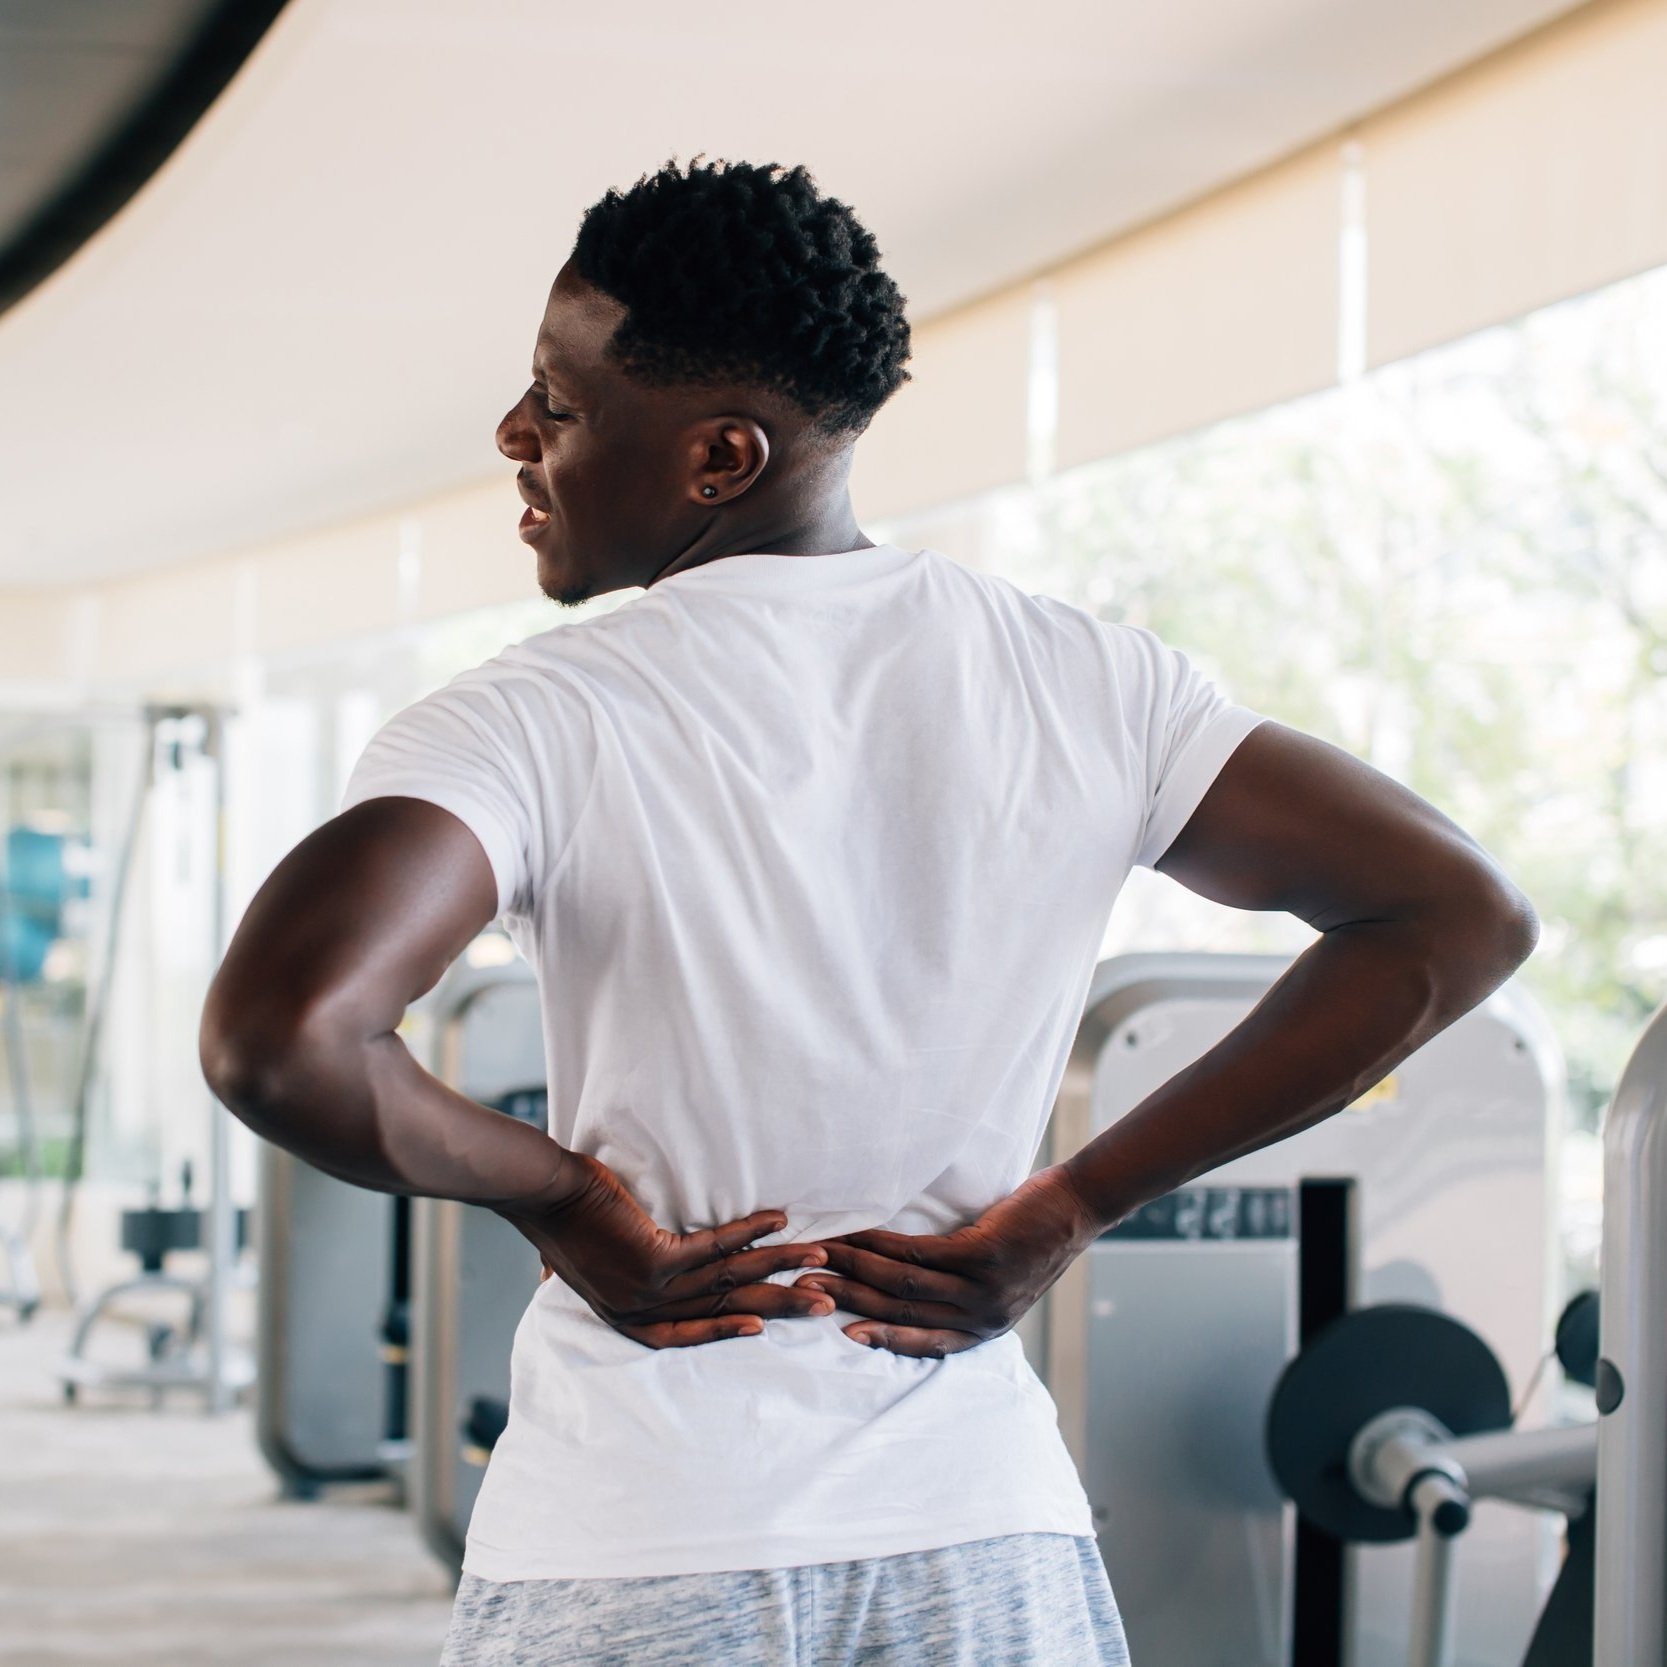
A common bump in the road that many people encounter is overtraining. This happens when the amount of exercise people complete is a substantial jump from their previous activity levels.
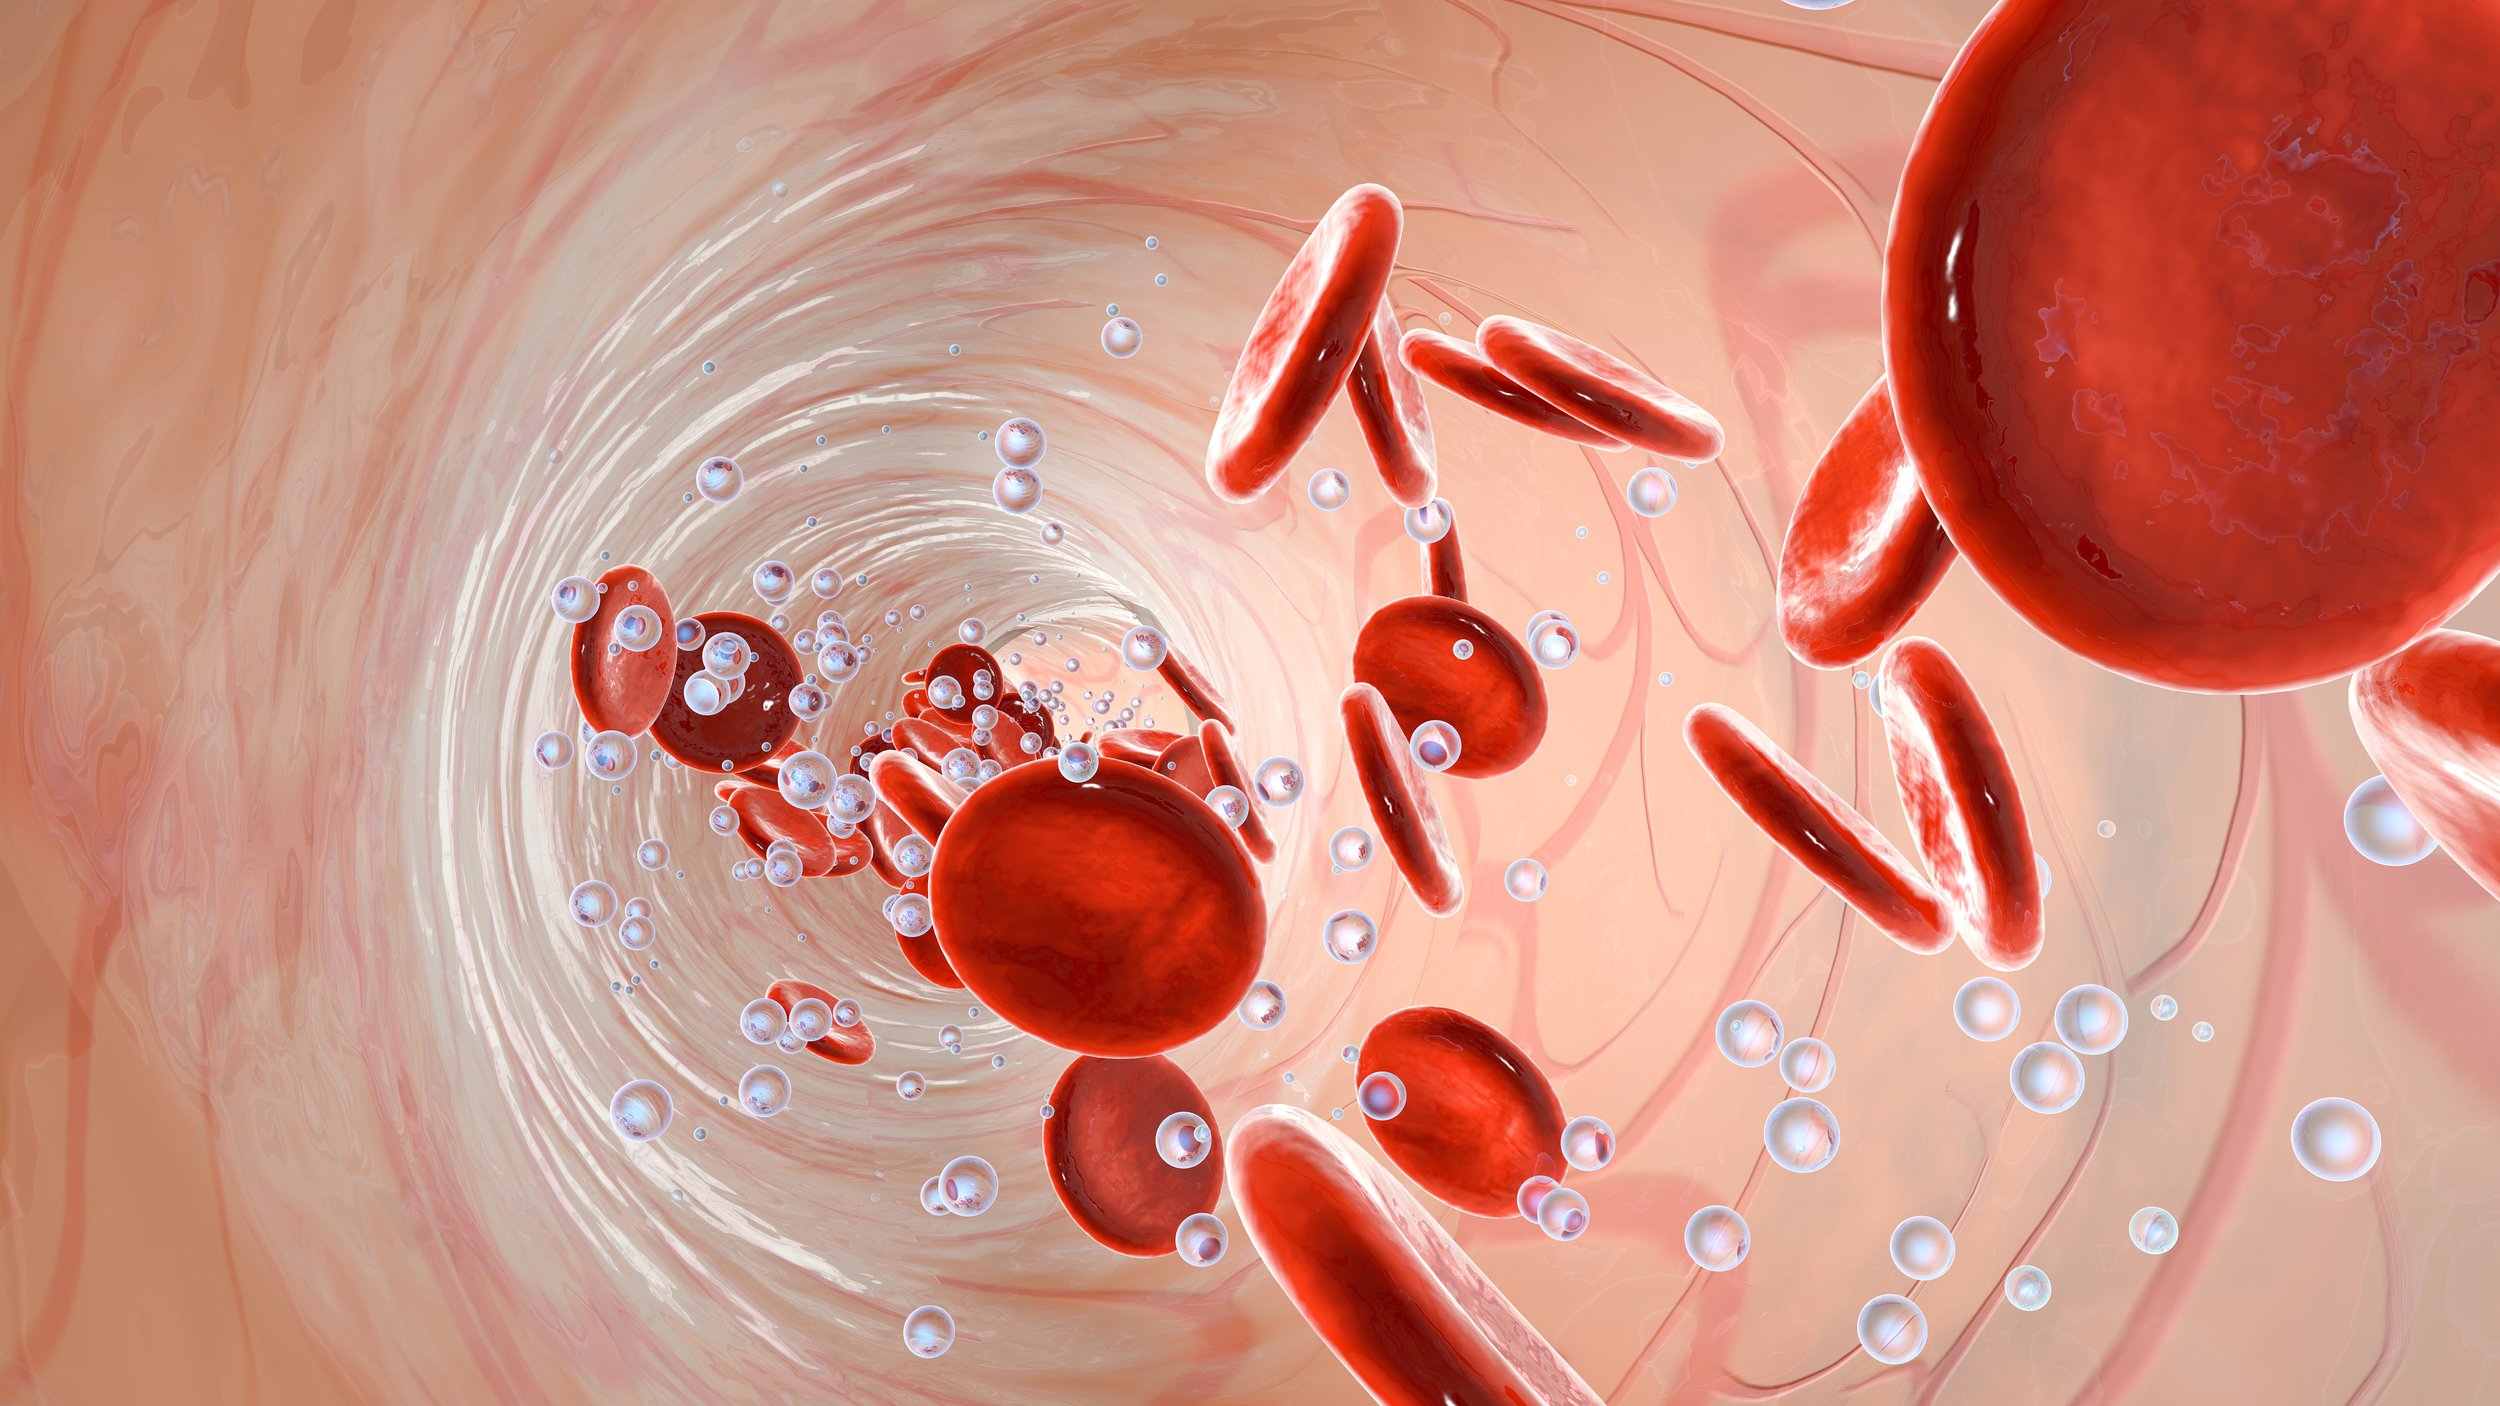
A sudden increase in intensity, duration, or overall volume of exercise can lead to fatigue, decreased performance, and overuse injuries if there is not sufficient recovery between exercise sessions.

The amount of recovery time needed between bouts of exercise depends on several factors, including the intensity, duration, type of exercise, and an individual's fitness level. In general, recovery should be tailored to the demands of the workout and the person's goals.
Here are some general guidelines for different types of exercise that we hope you find helpful:
1. High-Intensity Exercise (e.g., Heavy Weightlifting, Sprinting)

For intense workouts that challenge the muscles and cardiovascular system significantly, recovery time needs to be longer.
Between Sessions (Same Muscle Group): 48–72 hours
When doing strength training or other high-intensity exercises that target the same muscle groups, it's important to allow for 48 to 72 hours of recovery to allow muscles to repair and rebuild. This avoids overloading muscles and helps prevent overuse injuries.
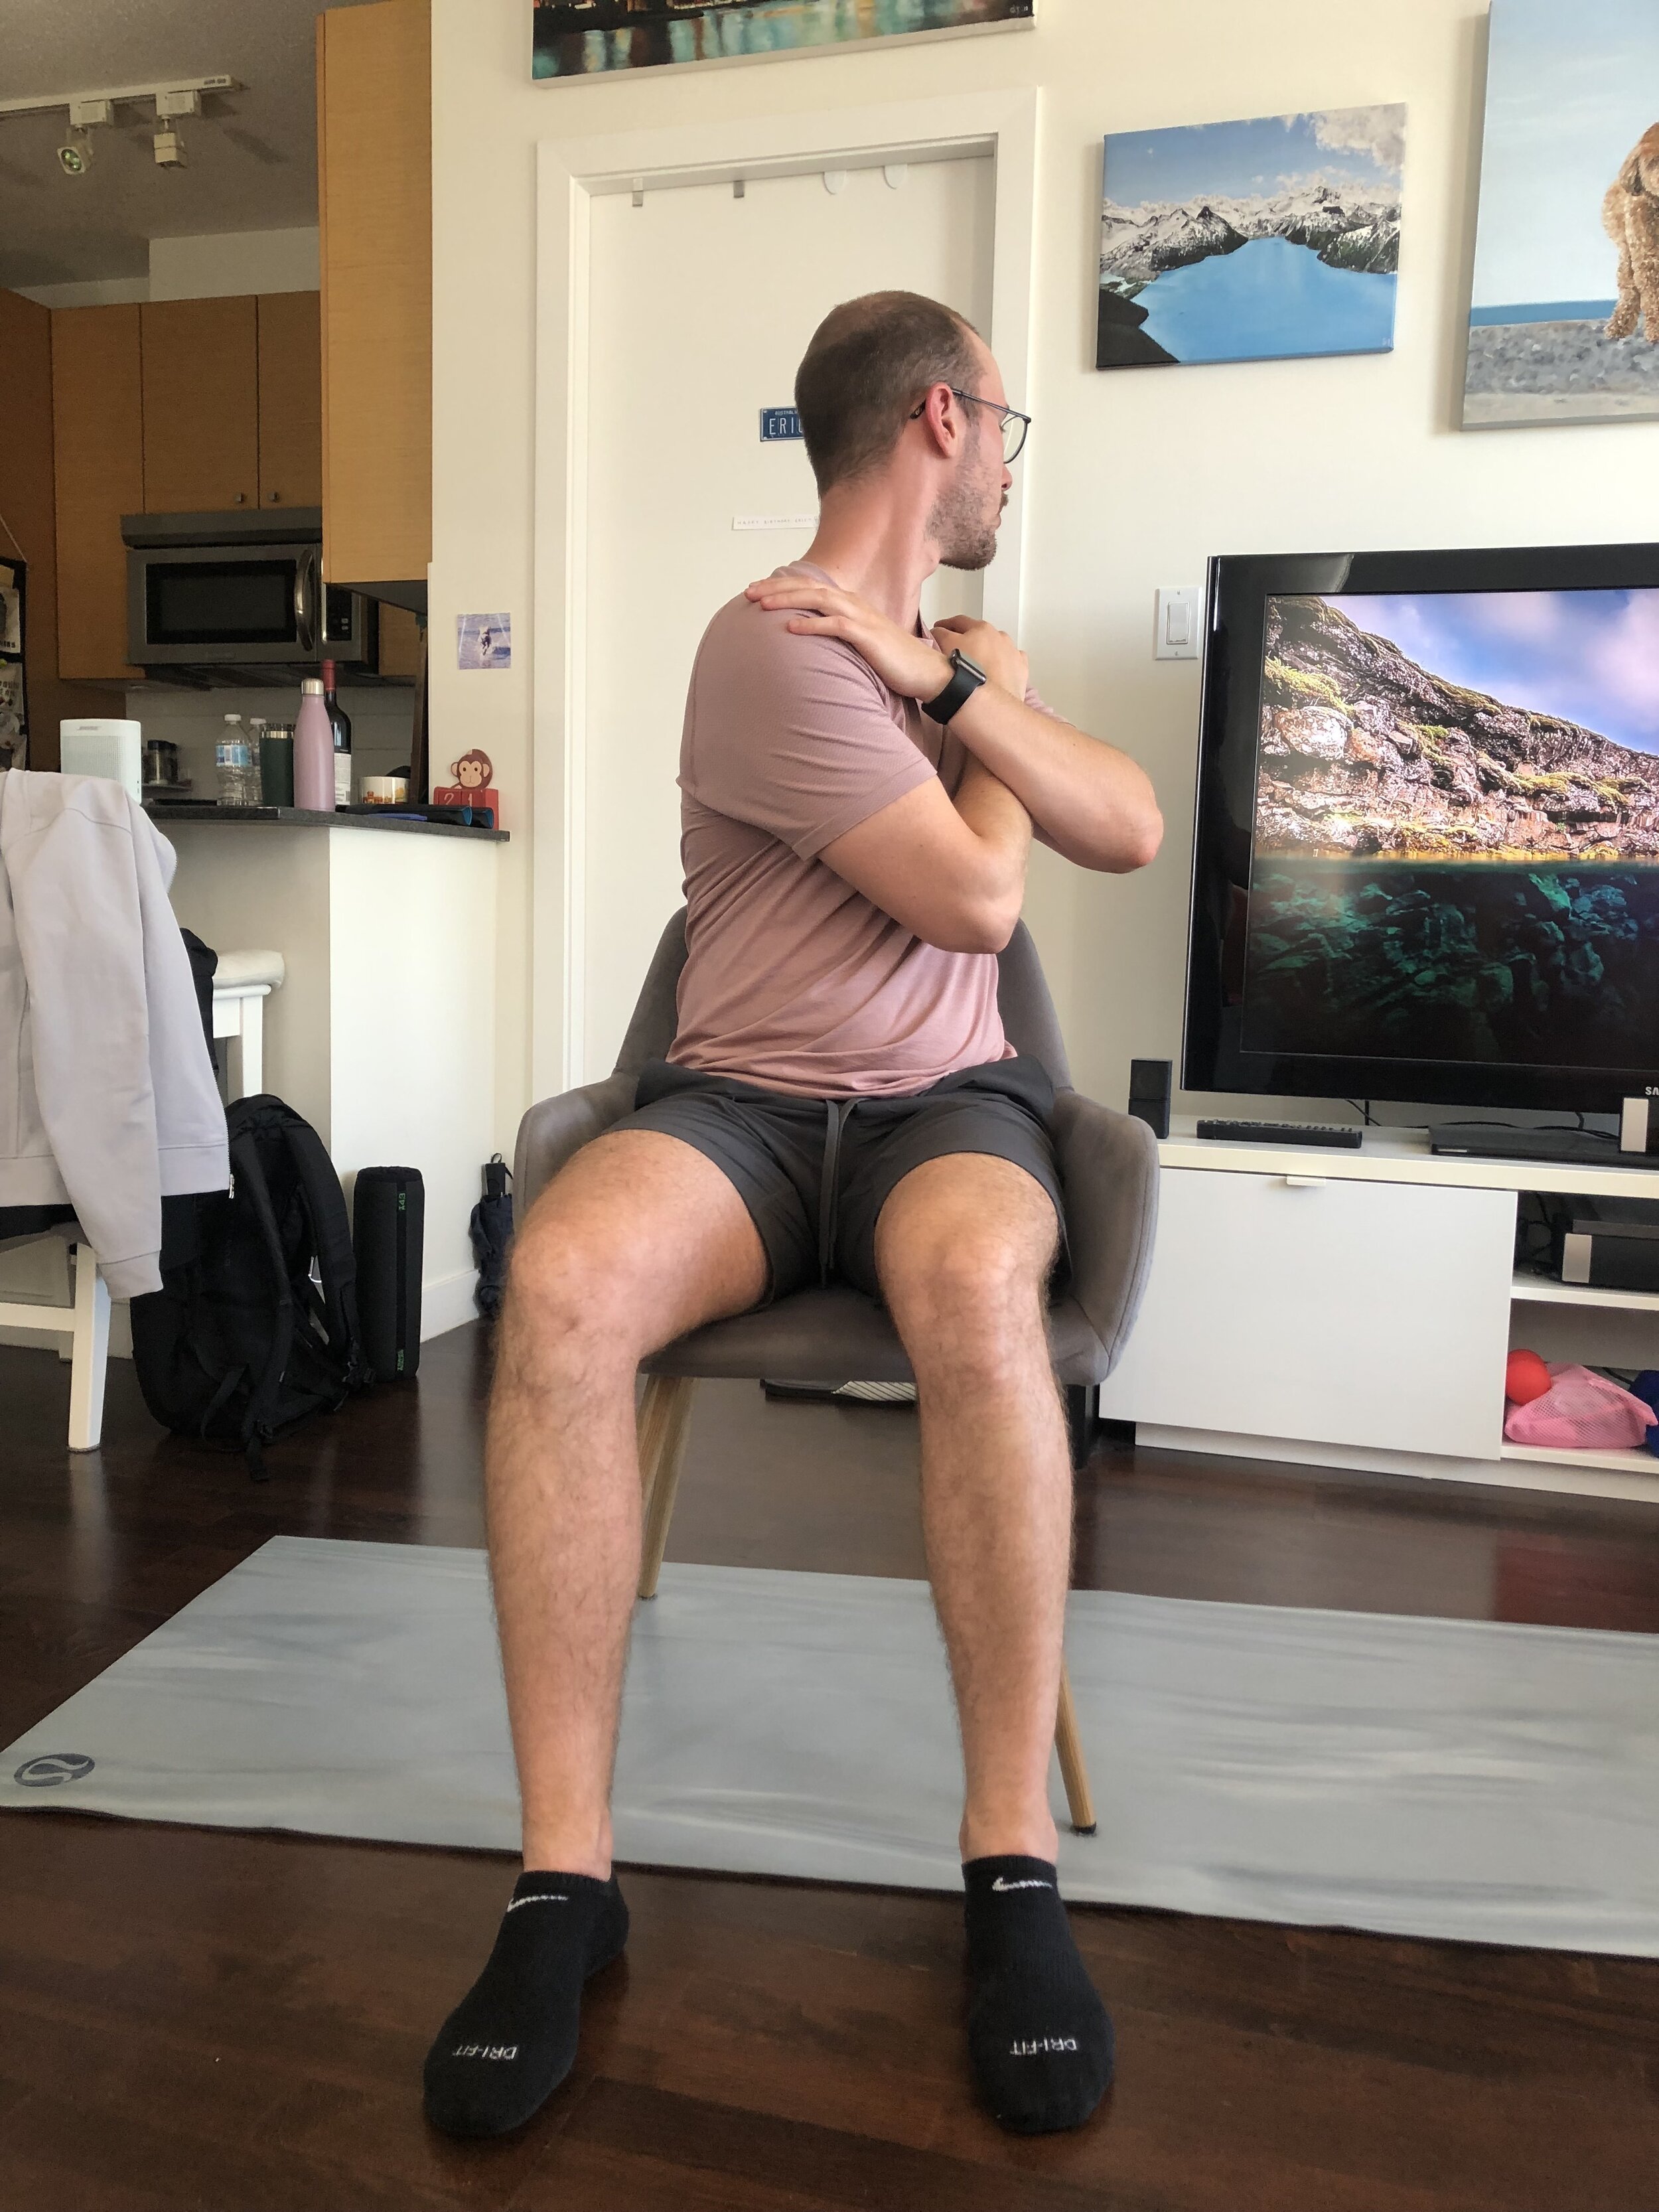
Active Recovery: If you’re training intensely, you can incorporate low-intensity, active recovery (like walking or light cycling) on days between heavy sessions to promote circulation and keep muscles limber.
2. Moderate-Intensity Exercise (e.g., Jogging, Moderate Weightlifting)

For moderate intensity, recovery time can be shorter.
Between Sessions (Same Muscle Group): 24–48 hours
You might feel fine after a moderate workout, but it's still good practice to give muscles time to recover. Recovery periods can range from 24 to 48 hours depending on how strenuous the workout was.
Active Recovery: This is especially beneficial after moderate-intensity workouts. Light activities like stretching, yoga, or low-intensity swimming can help enhance recovery without stressing the body too much.
3. Low-Intensity Exercise (e.g., Walking, Light Swimming, Yoga)

Low-intensity activities have minimal muscle damage, so recovery times can be very short.
Between Sessions: 12–24 hours
Since these activities don’t place much strain on the body, you can typically engage in them every day if desired. However, even with low-intensity exercise, taking rest days for full recovery is still beneficial for overall well-being.
4. Endurance Exercise (e.g., Long Runs, Cycling)

Endurance exercise can vary greatly in intensity and duration, so recovery times will depend on how long or intense the exercise was.
Between Sessions: 24–48 hours (for moderate endurance), 48–72 hours (for long, intense sessions)
After a moderate or long run, for example, it’s good to give your muscles a day or two to recover. For particularly long or intense endurance sessions (e.g., marathon training), recovery can take longer, and you may need 48–72 hours to fully recover.
Active Recovery: Light jogging, cycling, or swimming can help promote blood flow and reduce soreness.
5. High-Volume Training (e.g., Athletes in Multiple Disciplines)
Athletes who train multiple times per day or multiple times a week in different disciplines need a more structured recovery plan.
Between Sessions: 24–48 hours for muscle groups involved, with specific recovery strategies like nutrition, hydration, and sleep being prioritized.
Recovery strategies like "periodization" (cycling between high, moderate, and low-intensity sessions over time) can help athletes avoid burnout or overuse injuries.
Factors That Affect Recovery Needs
Fitness Level: Beginners tend to require more recovery than advanced athletes because their bodies are adapting to new stresses. Advanced athletes may have built up better recovery capacities.
Sleep: Quality sleep plays a crucial role in muscle repair and overall recovery. Aim for 7–9 hours per night, especially after intense training.
Nutrition: Eating protein-rich meals, staying hydrated, and refueling with the right balance of carbohydrates and fats can speed up recovery.
Age: Older adults may need more recovery time compared to younger athletes due to slower muscle repair processes.
Intensity & Type of Exercise: The more intense or demanding the workout, the longer the recovery. For example, a sprinting session requires more recovery than a casual walk or light jog.
Signs You Need More Recovery
Persistent soreness or fatigue: If muscles are still sore or you feel overly fatigued, you may need more time to recover.
Decreased performance: If you notice you're unable to perform at your usual level or you feel like you're constantly pushing through fatigue, it might indicate that you’re not recovering enough.
Mood changes: Overtraining can affect mood, causing irritability, anxiety, or even depression.
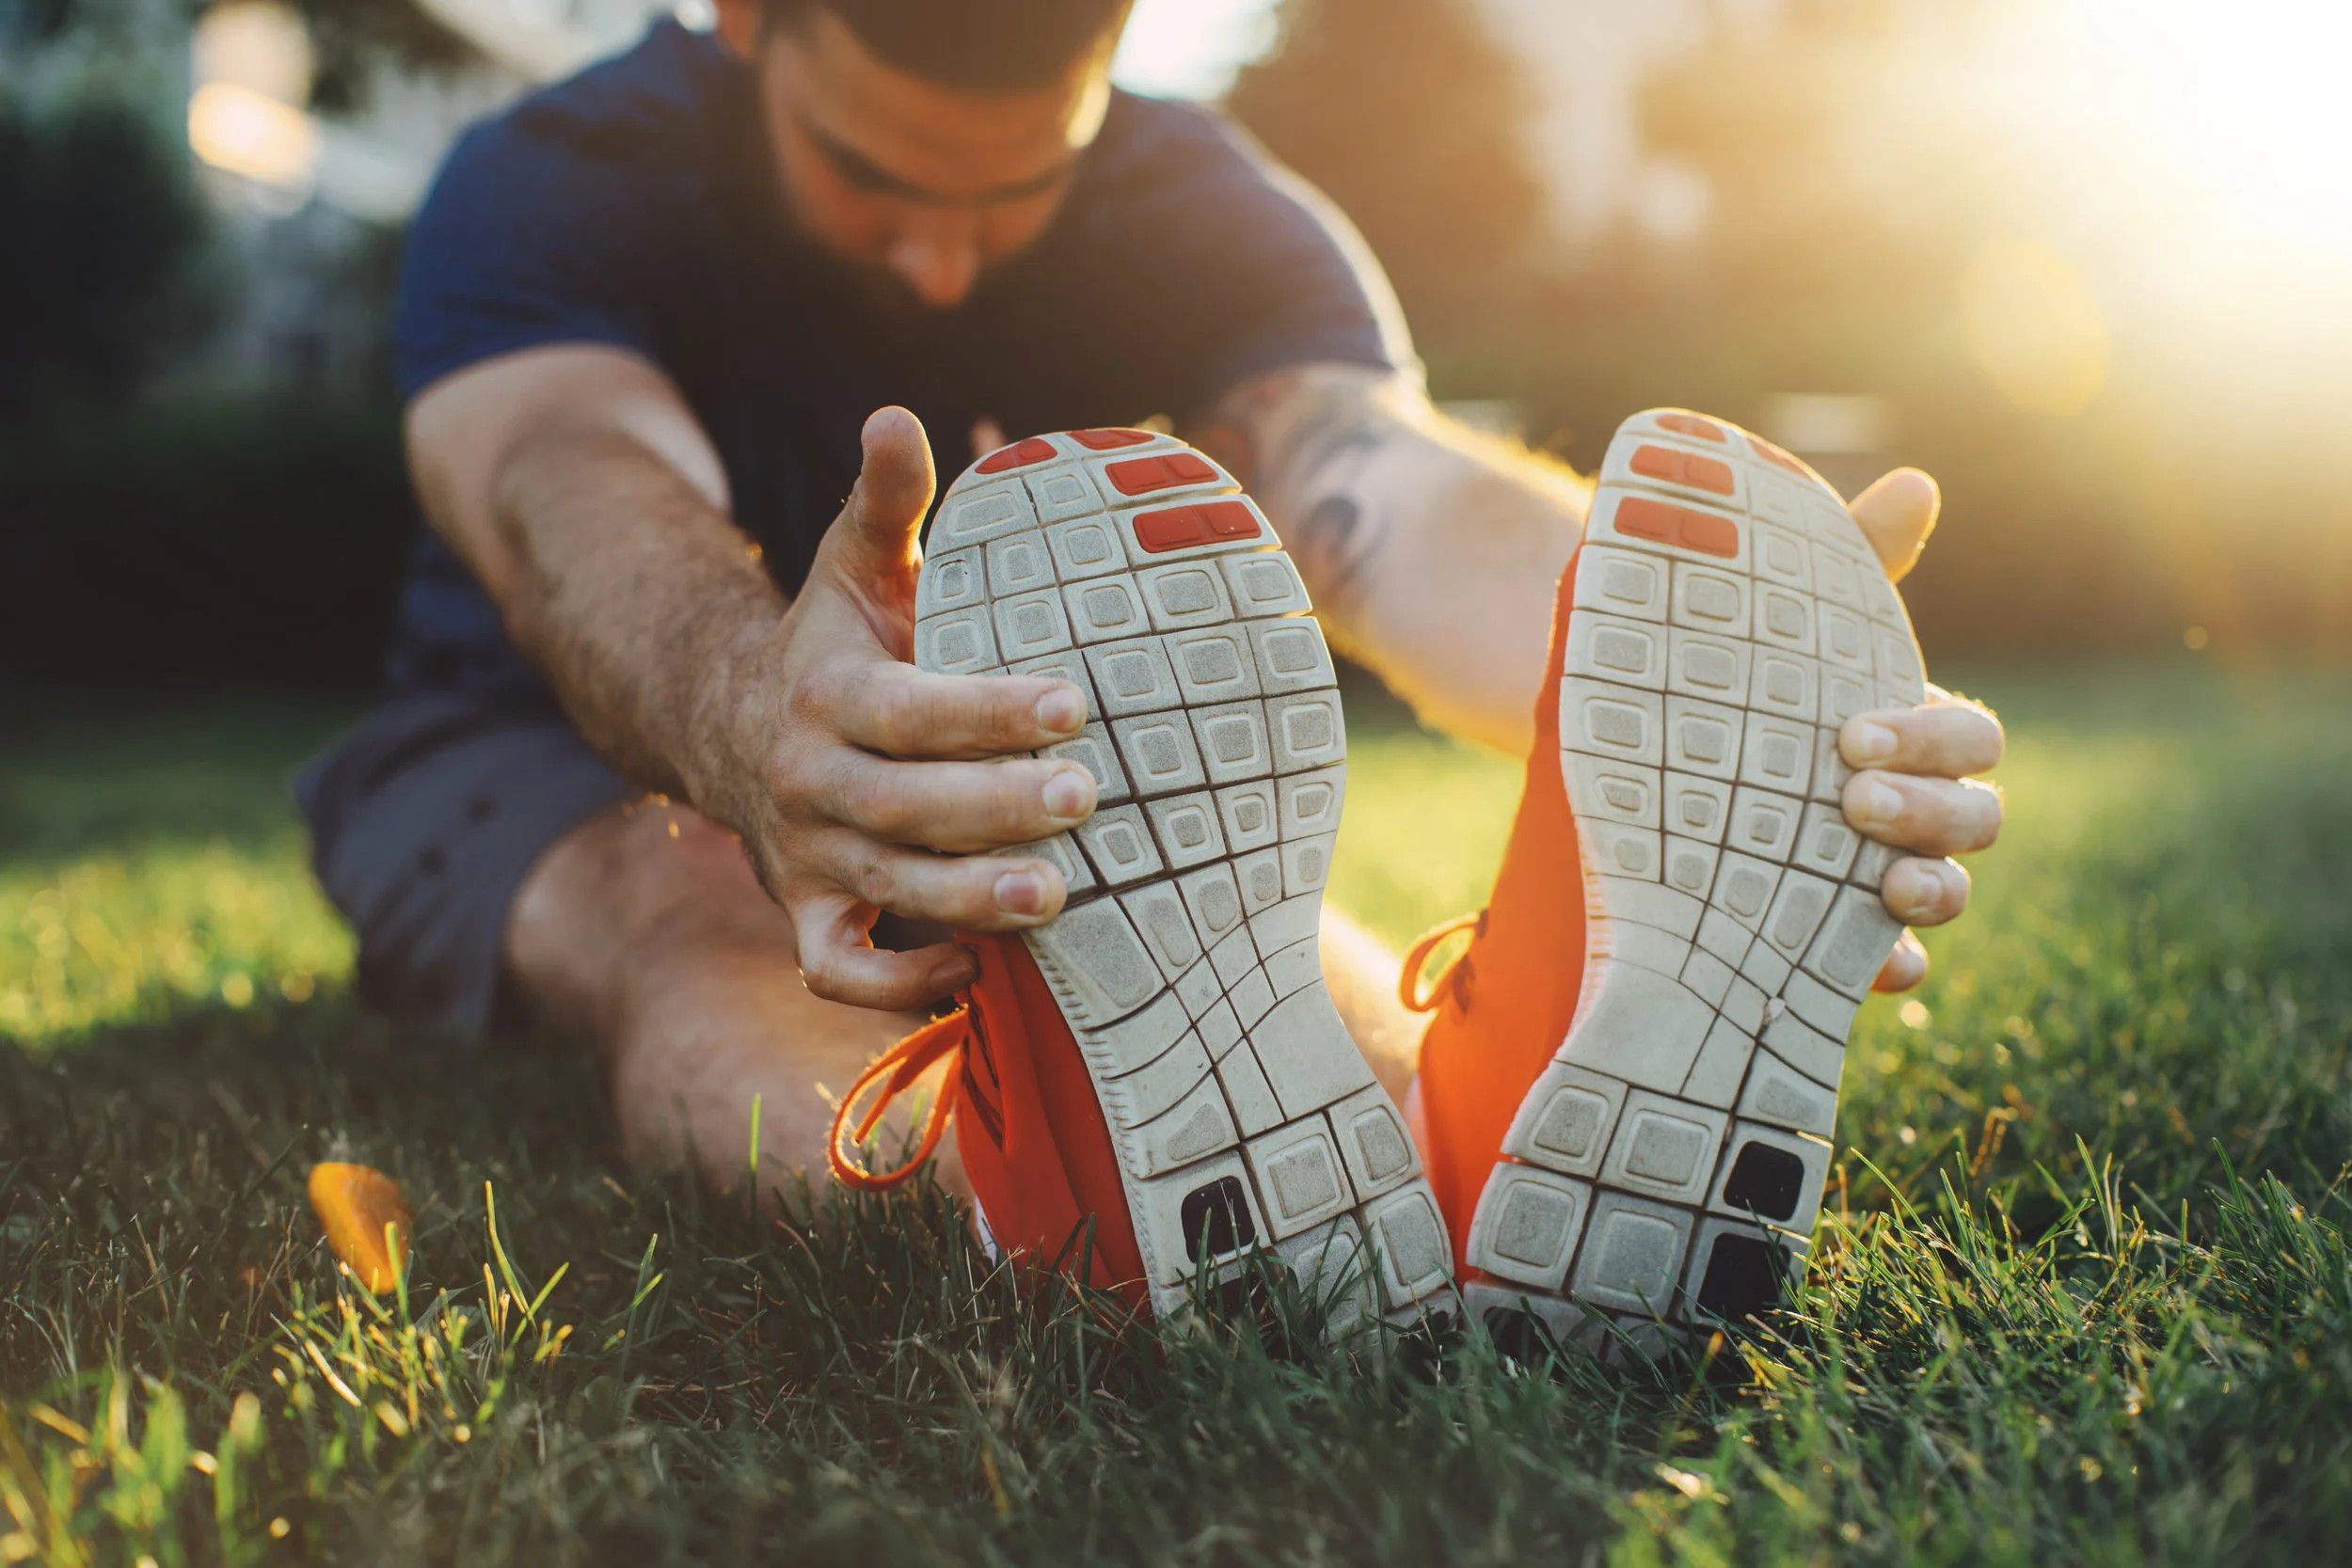
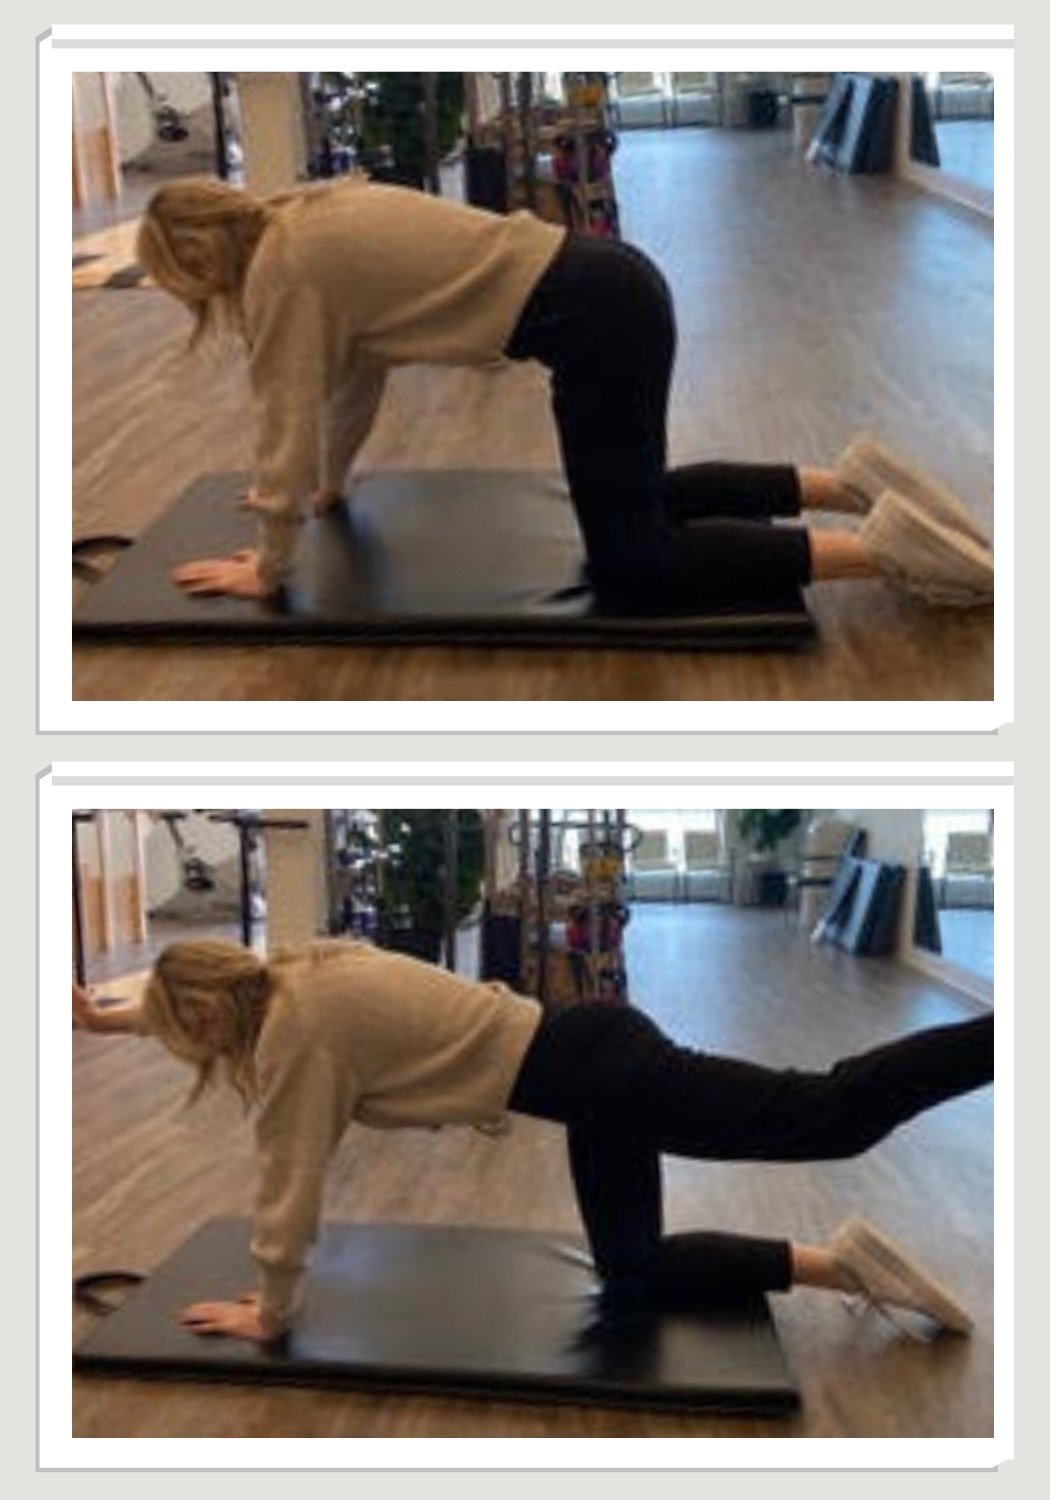
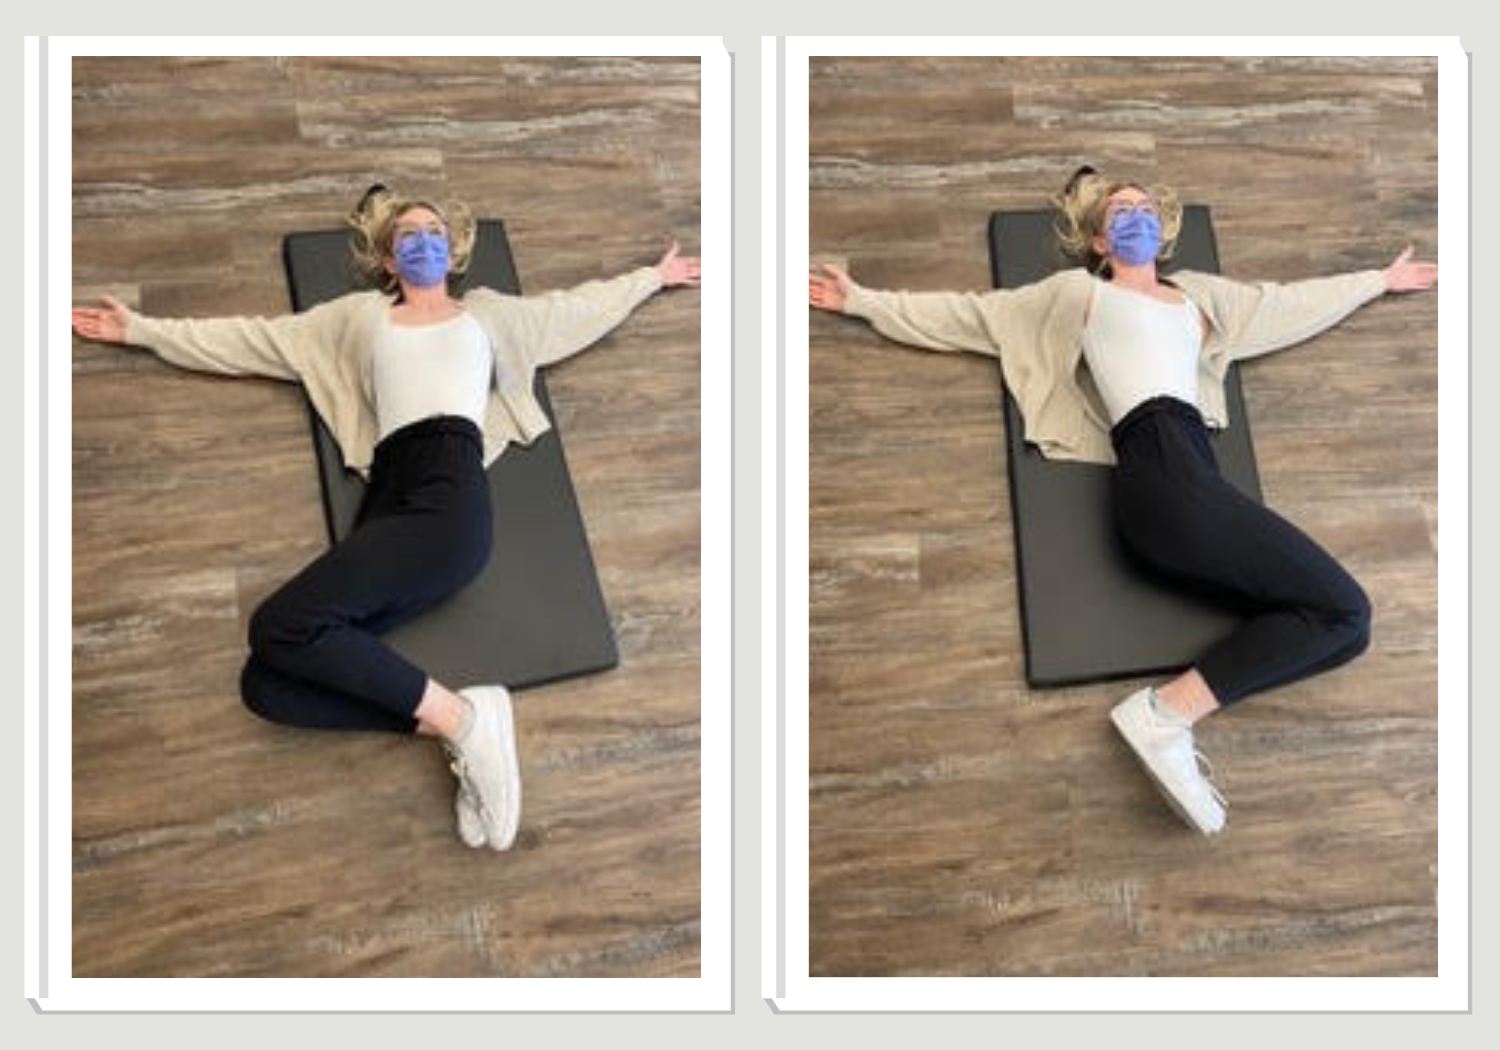
Recovery Techniques That Some Find Helpful

Stretching: Helps maintain flexibility and reduce muscle stiffness. Helps release muscle tension and improve blood flow.
Massage or Self-Massage: Reduces feelings of muscle tightness and promotes relaxation.
Cold/Heat Therapy: Can help circulation.
Hydration & Nutrition: Refueling after workouts with the right balance of protein and carbs to repair muscles and replenish glycogen stores.
Desperate for more information? Take a look at these resources: