You may have seen the piece in the CBC about Christopher Wanczycki, a Ontarian with cancer who was recommended prehabilitation by his surgeon. His prehab program used three main concepts as its pillars, all with the goal of preparing him for surgery and recover more quickly:
Exercise
Enhanced nutrition
Psychological support & cognitive training
The concept of prehabilitation - preparing the body and mind before surgery - has been gaining traction in the rehab world over the last decade. Several studies, including one in last week’s issue of the British Medical Journal, have highlighted how effective prehab can be:
40-50% reduction in post-op complications
Reduced length of stay in the hospital after surgery
Improved quality of life after surgery
Improved walking after surgery
Not only did that paper indicate that prehab seemed to be effective for all surgeries (not just orthopaedic ones), but exercise seemed to be the component most likely to improve critical outcomes.

What is Prehabilitation?
Prehabilitation is a forward-thinking approach to patient care that focuses on improving physical strength, nutritional status, and mental resilience before surgery through structured exercise, dietary adjustments, and psychological support. The goal is to improve a patient’s physical fitness and mental resilience, enabling them to recover more efficiently post-surgery. Unlike rehabilitation, which occurs after surgery, prehab helps patients enter surgery in the best possible condition.
The Benefits of Prehabilitation
1. Enhanced Functional Capacity
For patients undergoing major surgeries such as joint replacements and cancer-related procedures, the benefits of prehab have been well documented. A study conducted at McGill University found that a structured prehab program significantly improved functional capacity, measured by a patient’s ability to perform daily activities and maintain mobility post-surgery (Singh et al., 2020).
2. Reduced Postoperative Complications
Studies have shown that prehab reduces the risk of complications after surgery. For example, a systematic review published in the Canadian Journal of Surgery found that preoperative exercise programs led to a lower incidence of postoperative infections and respiratory issues in patients undergoing major abdominal surgery (CJS, 2021). By strengthening the body ahead of time, patients are better equipped to handle the physical demands of recovery.
3. Shorter Hospital Stays and Healthcare Cost Savings
With Canada’s publicly funded healthcare system facing increased strain, reducing hospital stays is crucial. A study from the University of Toronto demonstrated that patients who underwent prehab before orthopedic surgery spent significantly fewer days in the hospital compared to those who did not participate in a program (University of Toronto, 2019). This translates into cost savings for the healthcare system and frees up resources for other patients in need.
4. Improved Mental Health and Quality of Life
Surgery is not just a physical challenge but also a psychological one. Anxiety and depression can negatively impact recovery outcomes. Psychological prehabilitation, which includes mindfulness training, cognitive behavioral therapy, and patient education, has been shown to reduce pre-surgery anxiety and improve post-surgical recovery rates. The Canadian Cancer Society has recognized the importance of psychological preparation for cancer patients undergoing surgery, emphasizing the role of prehab in reducing emotional distress (Canadian Cancer Society, 2022).
An Example: Exercise Prehab for a Total Knee Replacement
It’s a surgery that well over 100,000 Canadians will have this year: a joint replacement. If we take a typical patient who has an upcoming total knee replacement, what would the exercise component of their prehab look like?
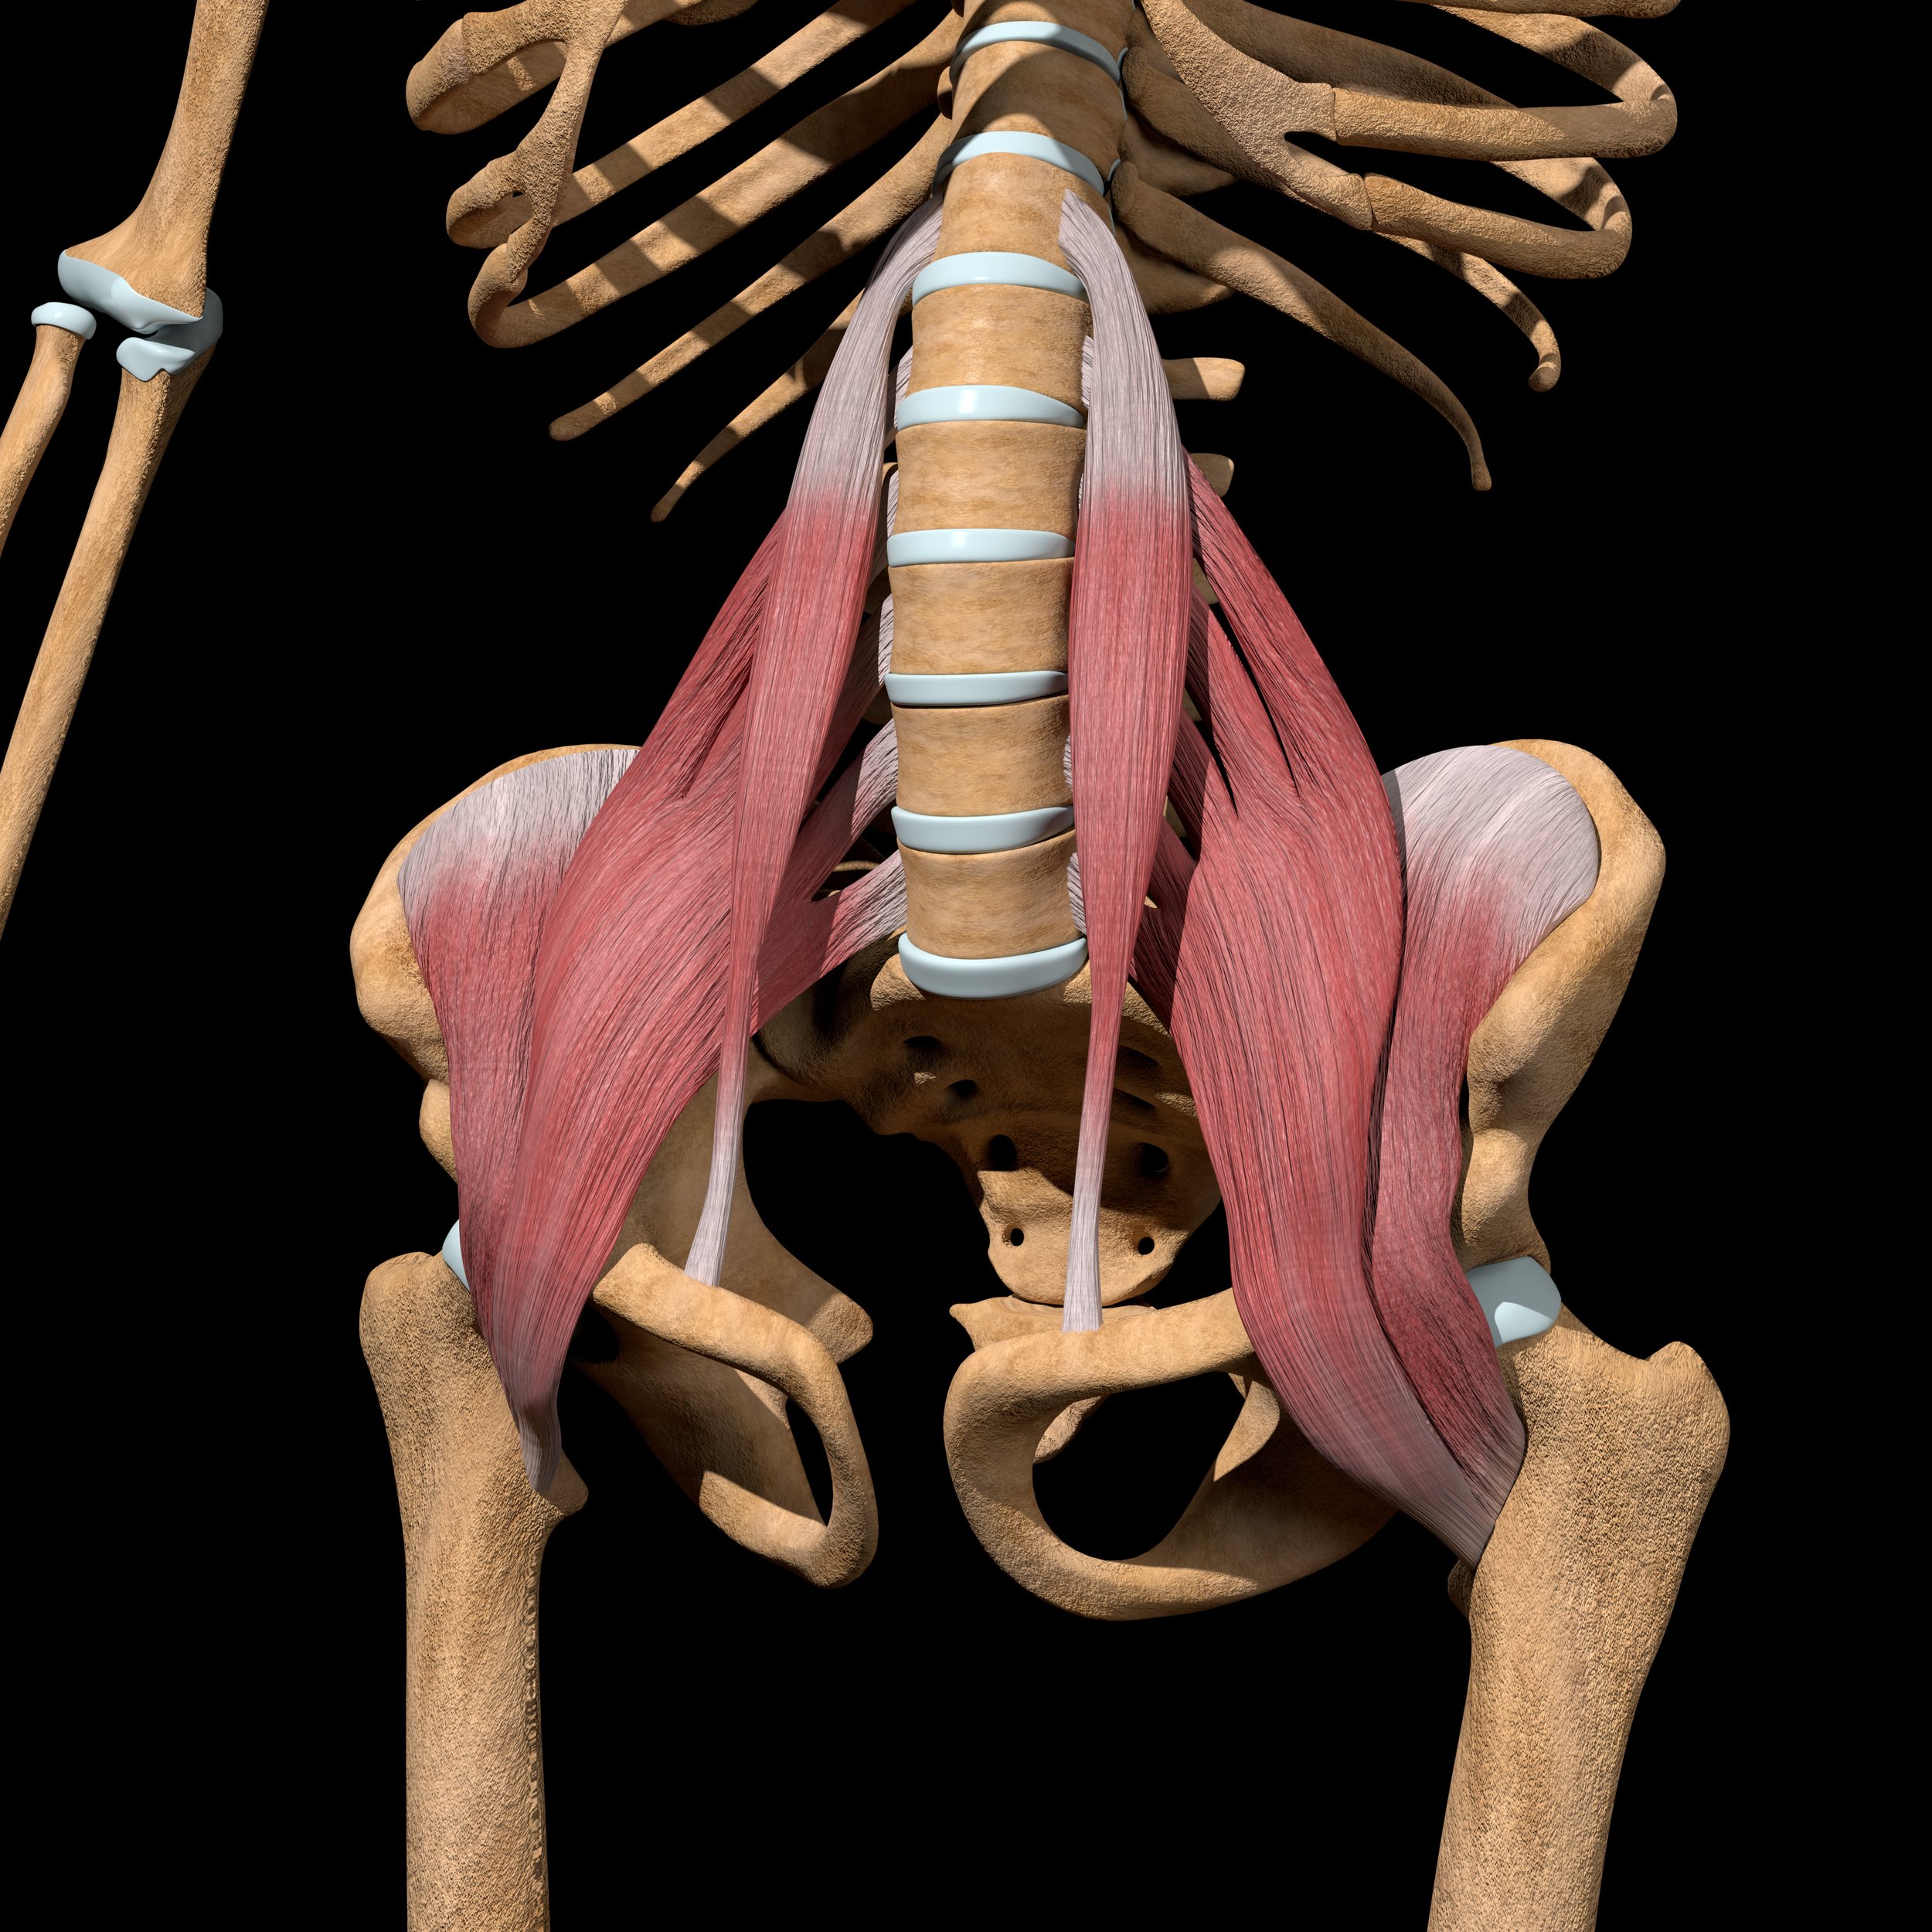
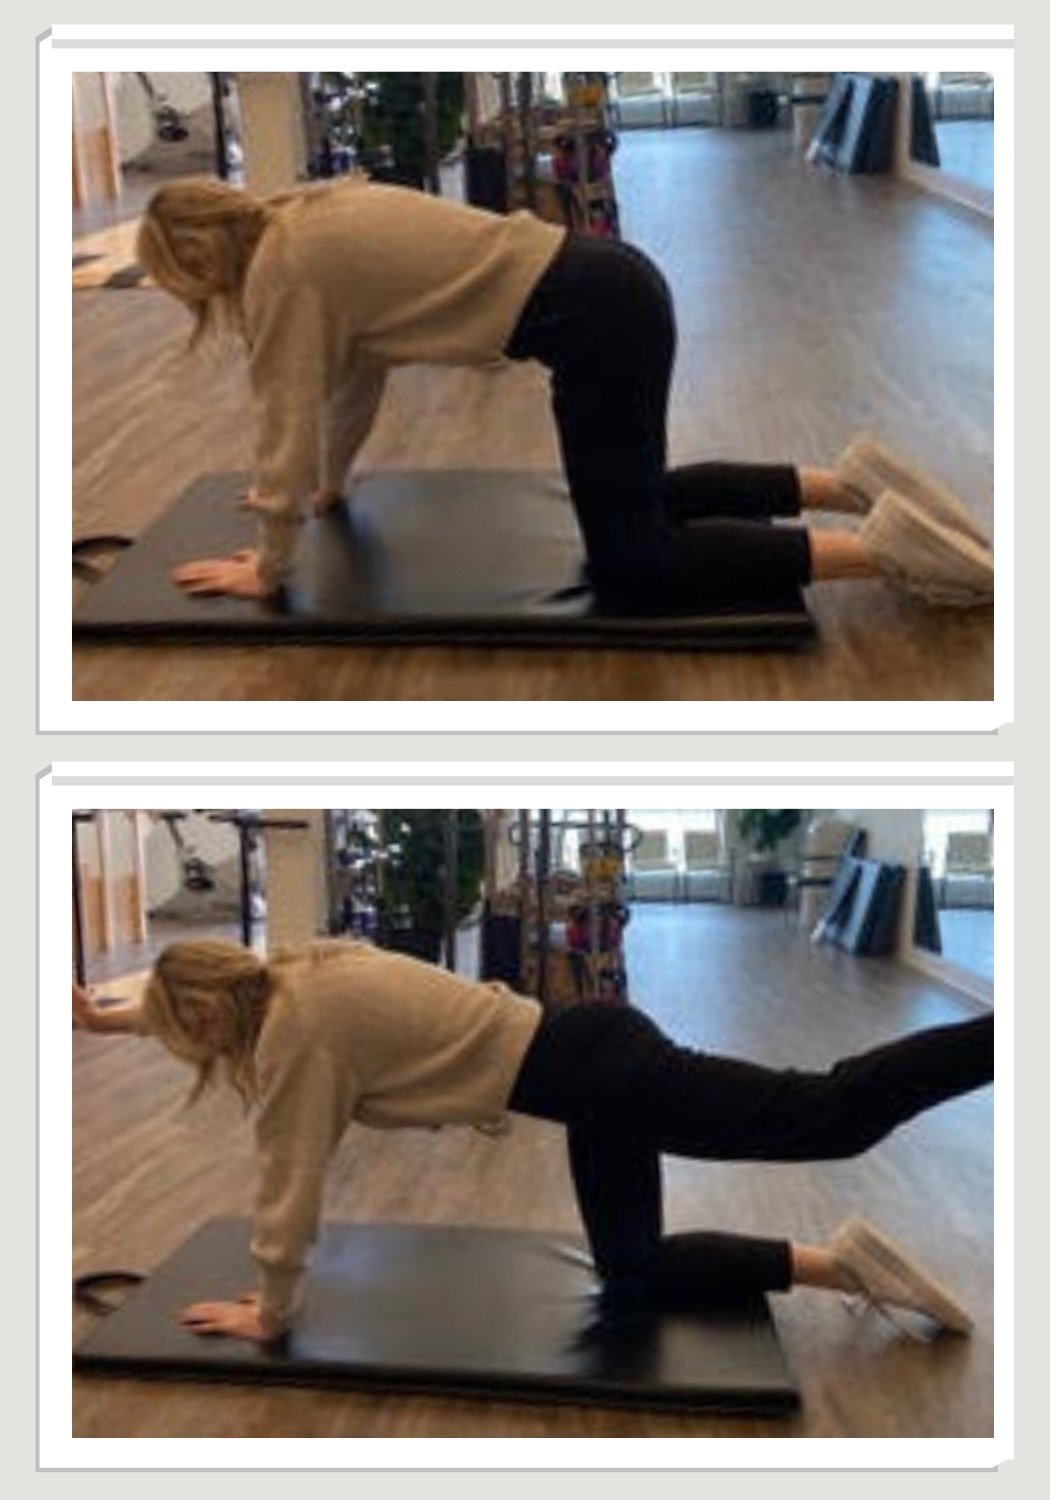
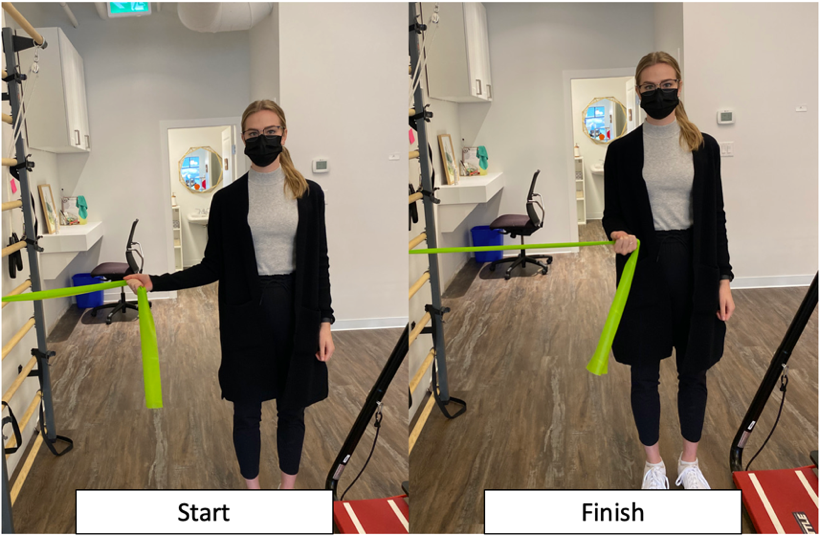
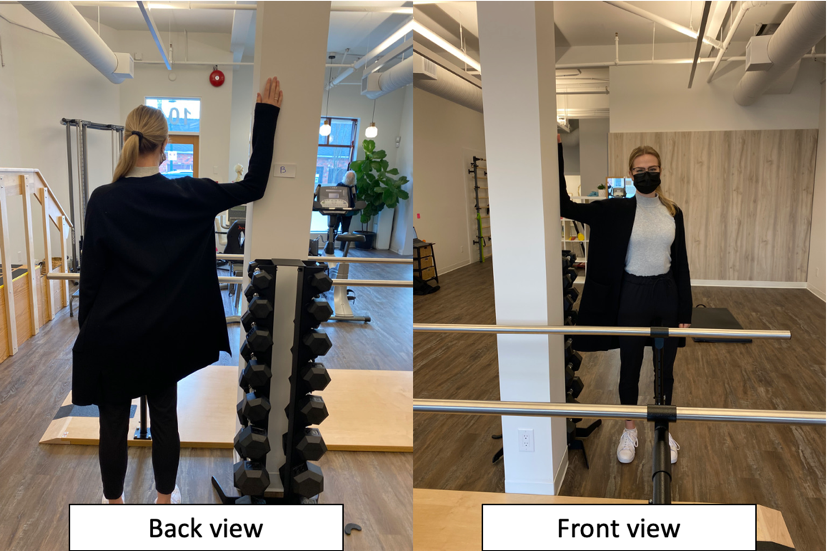
Strength training - we would want to focus on making sure the quads and hamstrings were as strong as could be to directly support the knee. It’s equally important to strengthen the hip and core muscles as well, as these areas of the body directly affect knee function.
Aerobic exercise - improving cardiovascular health greatly improves post-surgical outcomes. Low-impact exercises like swimming or cycling are great options for an upcoming knee replacement.
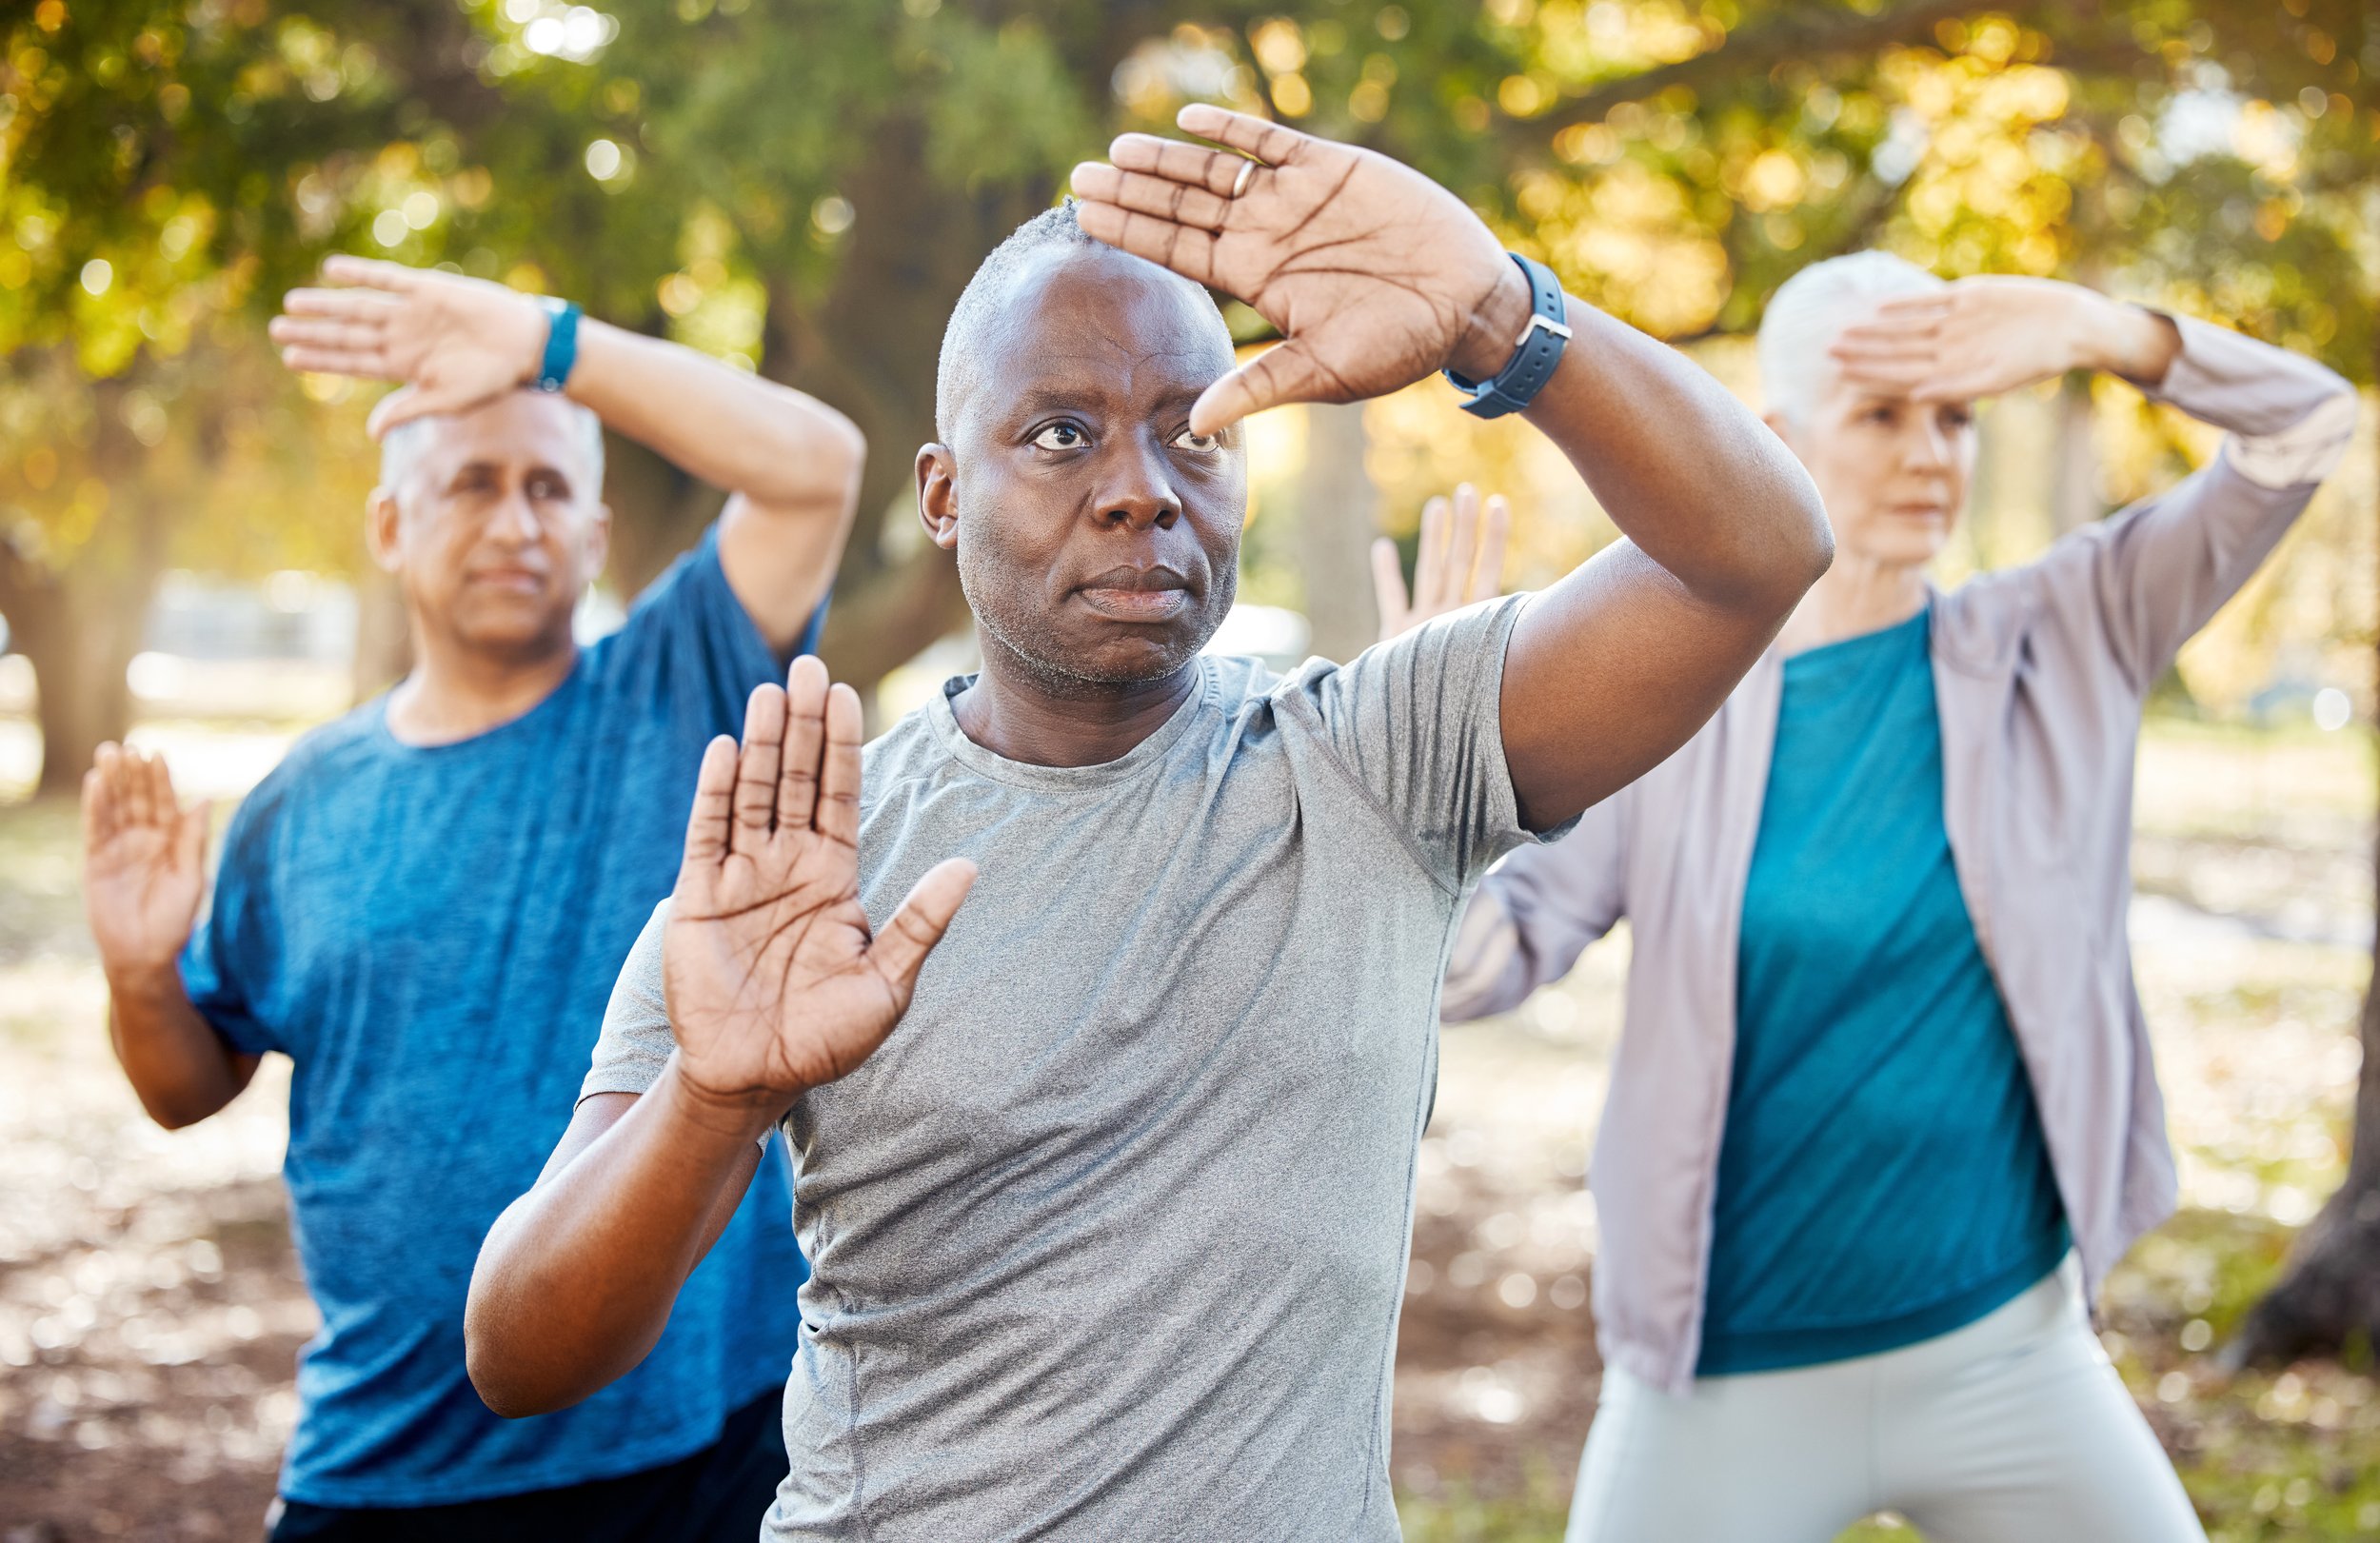
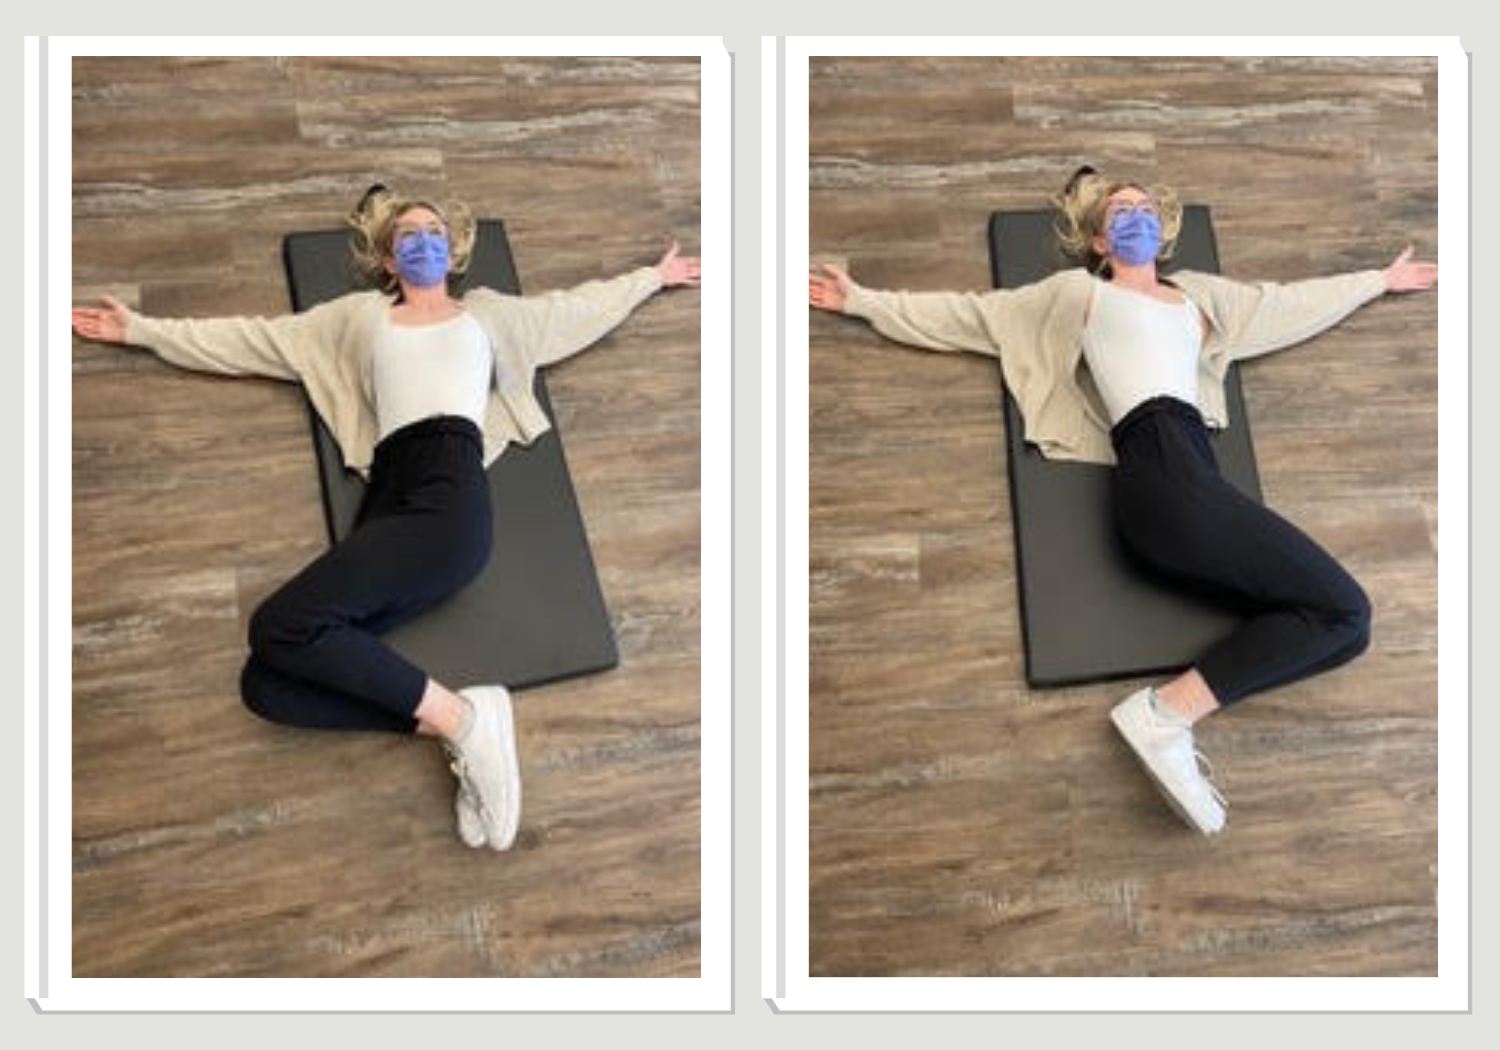
Balance & flexibility training - to reduce the risk of falls after surgery, balance & flexibility are a focus. This can be done in a myriad of ways: yoga, Tai Chi, or home exercises are all great options.

If you have an upcoming surgery, it’s important to make a prehabilitation plan with your health care team to make sure your surgery and recovery go as smoothly as possible. Give us a call at (778) 630-800 or email us at clinic@ladnervillagephysio.com to get started!