#injury

Flexibility vs. Mobility - What’s The Difference?

People often use the terms “flexibility” and “mobility” interchangeably but there is a difference! In this blog, our dance physiotherapist Anh Duong explains the difference between the two as well as why one is more advantageous than the other.

As physiotherapists we throw around the terms “flexibility” and “mobility” a lot, but what do they actually mean?

Flexibility is the ability of muscles to move through range passively (in other words, pushing to the end of the joint’s range with assistance from your hands, the wall, a strap - you get the idea) where as mobility is the ability of a joint to move through range actively, using your muscle to do the movement without assistance.

Imagine a dancer who can do the full splits when she is stretching on the ground but cannot achieve the full splits when performing a grande jeté. This dancer would be demonstrating flexibility but lacking mobility.


Ultimately, dancers should be aiming for mobility over flexibility.

How do we improve mobility?

Strengthen while you lengthen! This is achieved by working the muscles while elongating them at the same time. Some ways you can do this include:

  • opting for more dynamic stretches rather than static stretches

  • using bands and weights for resistance

  • performing resisted holds while in an elongated position

But doesn’t being flexible help my technique?

There is a misconception that hyperflexibility will improve dance technique when it can actually do the opposite.

Think of your muscles like hair elastics. If you use the same hair elastic and stretch it and stretch and stretch it, overtime it will become long and weak and no longer be able to hold up your hair. Similarly, an overstretched muscles becomes long and weak and loses its ability to produce force which is needed for all dance movements such as kicks and jumps.

But there’s more..

Overstretching is highly dangerous and
NOT recommended

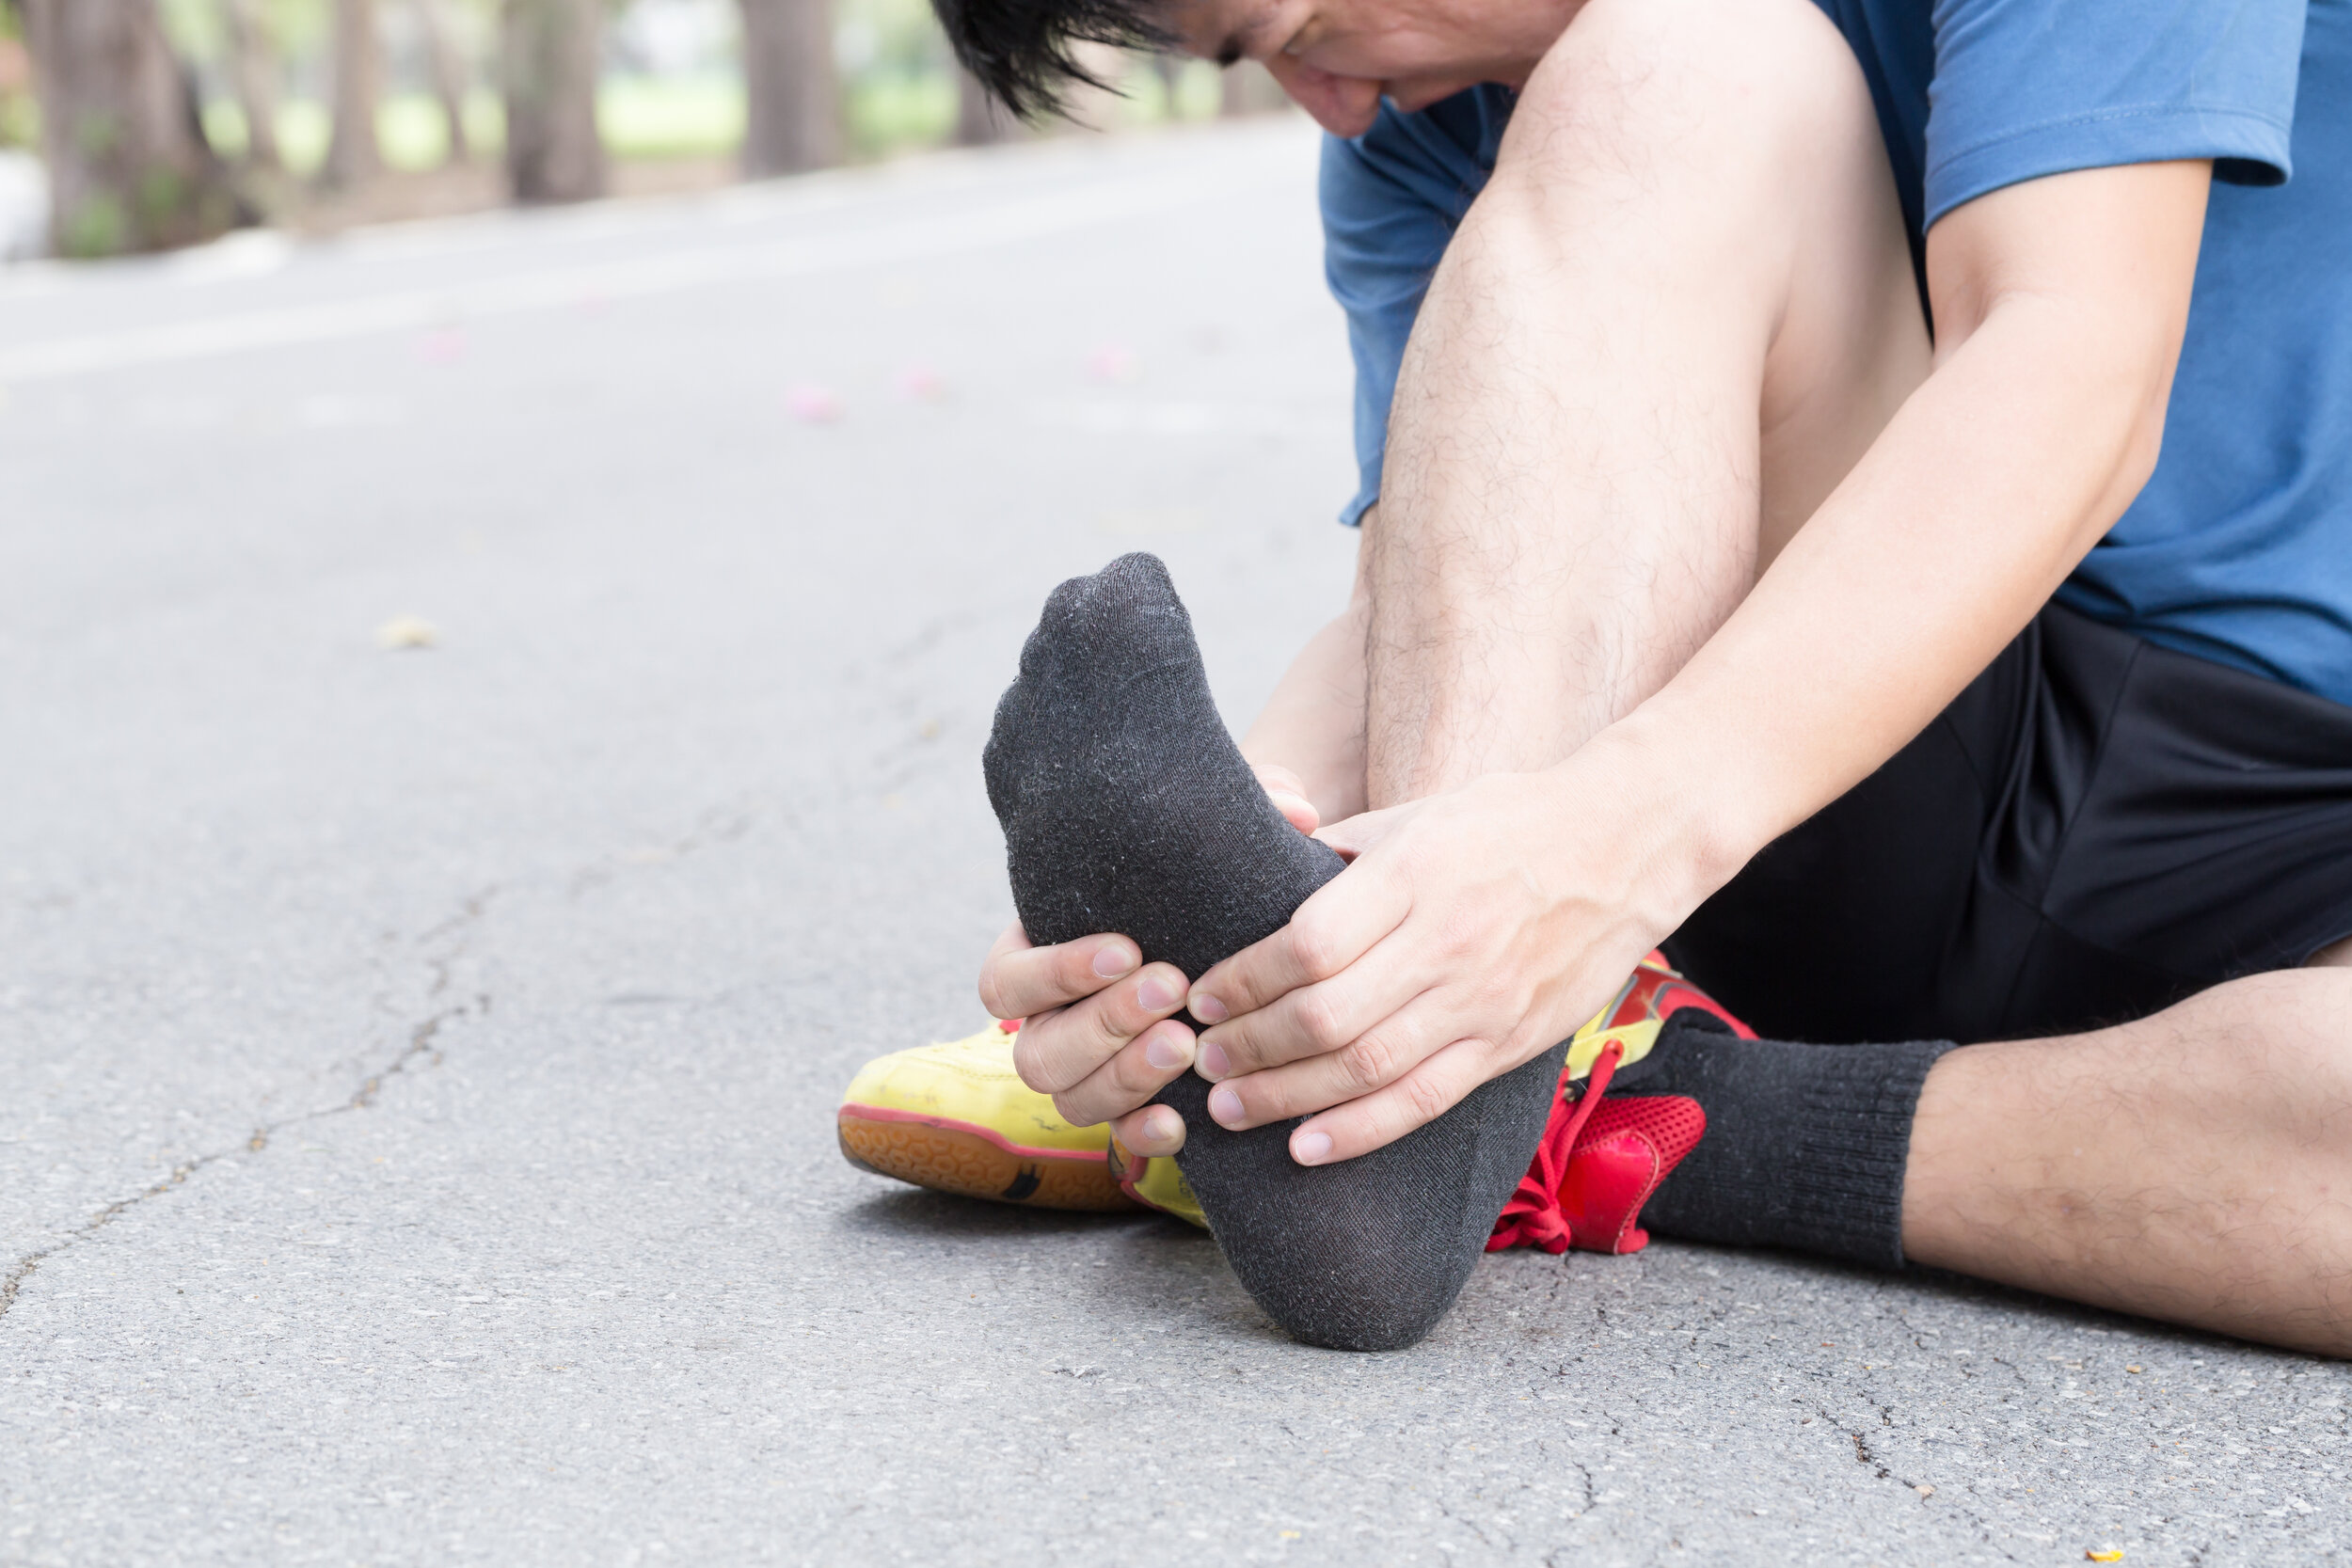
In the short term, overstretching increases the dancer’s risk of muscles strains, muscle gripping due to weakness, and snapping/pinching hips.

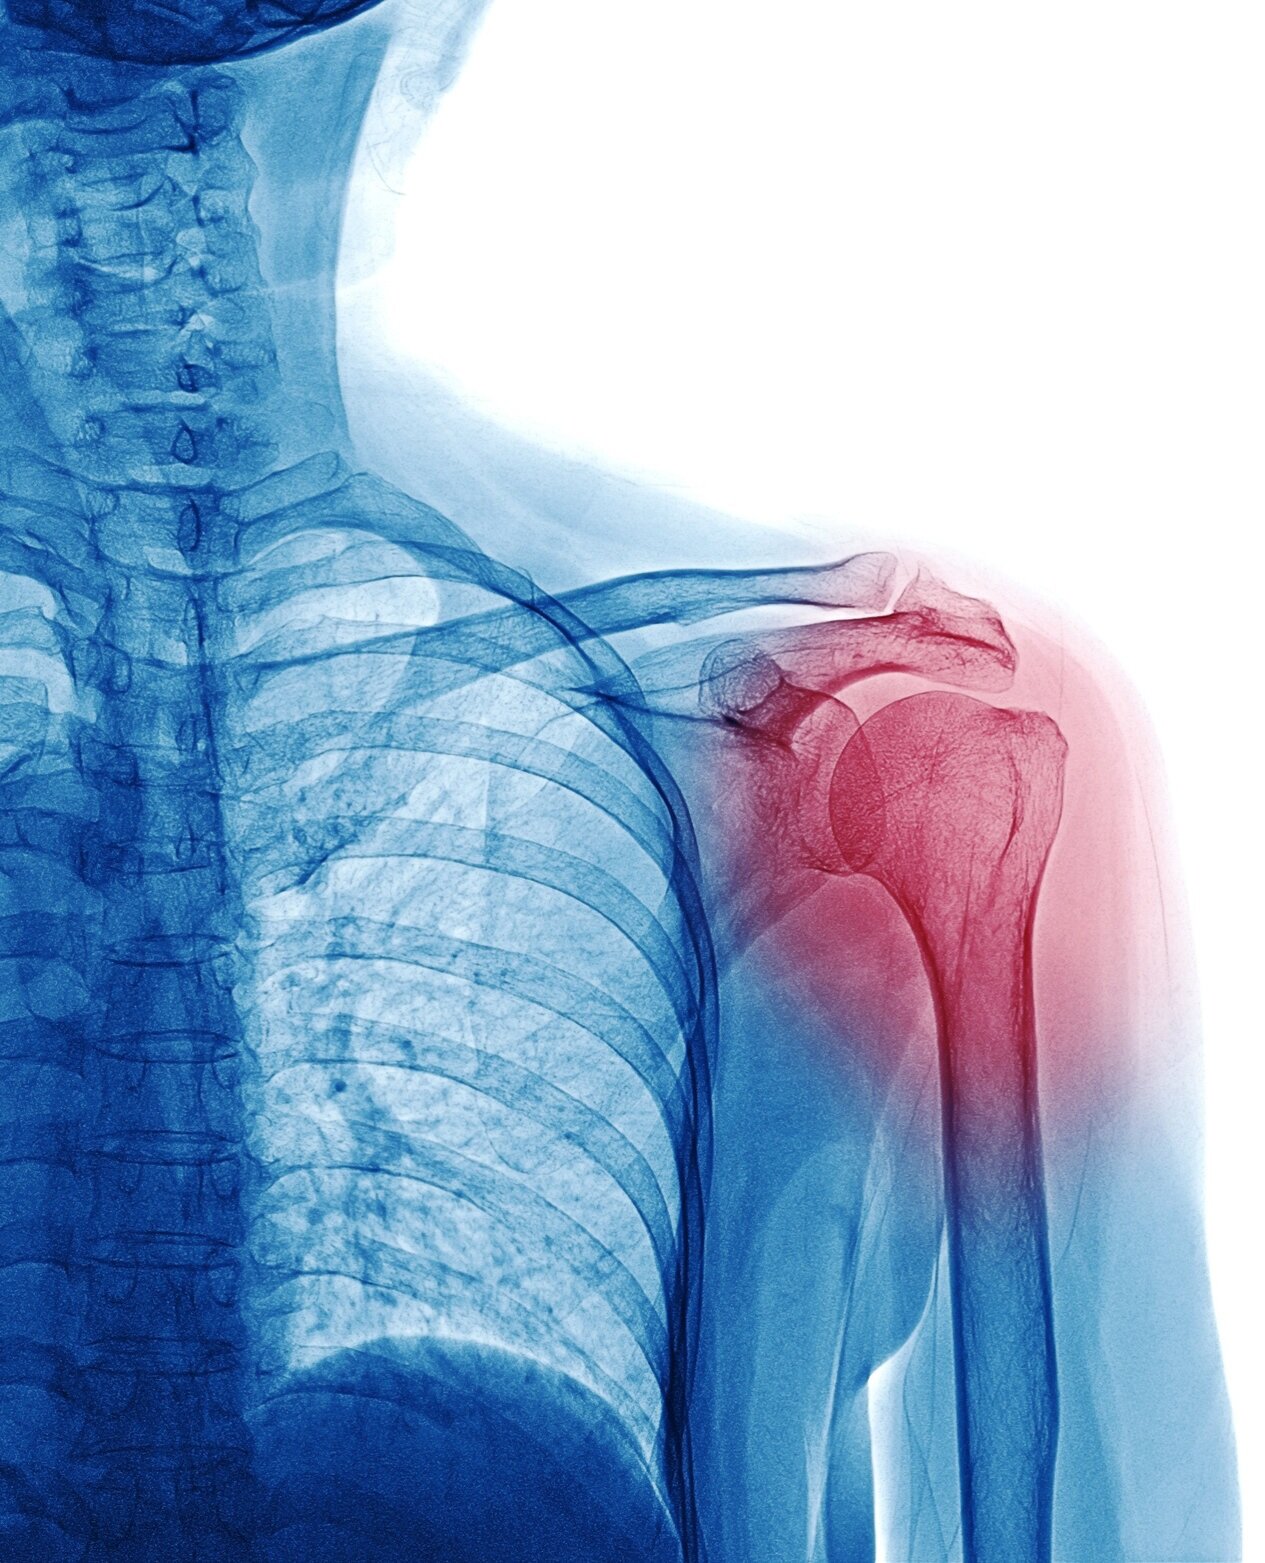
In the long term, overstretching can lead to stretching of other tissues such as ligaments, cartilage and joint capsules which play an integral part in joint stability.

Micro-damage accumulates over time which may lead to long term problems such as early degeneration of the joint, and chronic instability and pain.

What does overstretching look like?

  • “sitting” in extreme positions for long periods of time

  • Having peers or teachers pushing limbs at end ranges

  • using yoga blocks or furniture as a lever to get more range

  • Stretching before warming up muscles

To recap:

Dancers should be aiming for mobility over flexibility which includes incorporating strengthening and avoid stretching joints into extremes.

In this day and age, with the influence of social media and growing popularity of incorporating gymnastics and acrobatics movements into dance technique, the demand on dancers’ bodies are higher than ever and it is important that we educate dancers, parents, teachers, about safe and effective training.

To book an appointment, call (778) 630-8800, email us or book online.

What is Kinesiology?

Kinesiology, also known as human kinetics, is the study of human movement, performance, and function. Kinesiologists work with people of all ages and physical abilities to help them achieve their health and wellness goals as well as improve their quality of life. 

A kinesiologist (kin for short) uses knowledge of anatomy, physiology, neurology and biomechanics to maximize the effectiveness of exercise rehabilitation. A kinesiologist can implement your exercise program, provide support in your rehab,  and help improve physical performance in sport, work or daily life.

In more simple terms, kinesiologists are exercise rehab rock stars!

Kins use exercise to get you back to the things you love. They will discuss your goals and current treatment plan with you and your physiotherapist (if you have a physio) and help develop an exercise program to meet your needs. They work with you for one-on-one exercise sessions to ensure your technique is perfect while they help progress you through your recovery process. Strength, endurance, balance, and general fitness goals will all be addressed - there will be no stone left unturned!

What kind of training does a kinesiologist have?

Kinesiologists have completed a 4 year bachelors degree from an accredited university. Both UBC and SFU have fabulous programs! Our kinesiologists are also active members of the British Columbia Association of Kinesiologists (BCAK).

Is a kinesiologist like a personal trainer? 

The primary difference between kinesiologists and personal trainers is education level. Kinesiology requires a four year university degree whereas personal training education is generally a few weekend courses. The increased scientific knowledge base and use of evidence-based research translates to a higher quality of care, a more comprehensive approach to your exercise, and more capability of helping you troubleshoot issues that may arise.

What can a kinesiologist do for me?

There are many reasons people can find kinesiologists valuable. Kins can:

  • Create an exercise plan that is safe and realistic

  • Identify muscle imbalances through assessment of your movement

  • Help with maintaining fitness while you deal with an injury

  • Develop an exercise rehab program to address an injury

  • Ensure proper exercise technique to avoid unnecessary injury

  • Provide motivation and accountability to stick with your exercise program

  • Help you have fun while achieving the results you want!

Is kinesiology covered by my extended health benefits?

Usually yes! For most people kinesiology, active rehab, and physiotherapy assistant appointments (which are, for this purpose, mostly interchangeable terms) are included within your physiotherapy coverage. Some plans have separate categories for “Physiotherapy” and “Kinesiology”. It is always best to first check with your insurance provider to confirm your coverage.

Do I have coverage if I was in a car accident?

Yes! With ICBC coverage, within the first 12 weeks of a car accident you are automatically approved for:

  • 12 visits with a kinesiologist

  • 25 visits with a physiotherapist

  • 12 visits with a registered massage therapist

If your accident was more than 12 weeks ago or you have had treatment for your accident at another clinic, please let our front desk know so we can help you sort out the logistics.

Do I have coverage if I have a WorksafeBC claim?

Yes! Our kinesiologists works closely with our physiotherapists to aid in the delivery of your recovery program.

What will my session look like?

Your first visit with your kinesiologist will be an hour long. Your kinesiologist will meet you and begin the session with a quick chat. They will ask you about your reasons for coming in, your goals and your current exercise program. They will then take some time to assess your movement, strength and capabilities before taking you through an appropriate exercise program.

The kinesiologist is in constant collaboration with your physiotherapist to ensure your exercise sessions are as effective and pleasant as possible. Follow up sessions can be 30 minutes, 45 minutes, or 60 minutes long. If you are a WSBC or ICBC client your appointments will always be 45 minutes.

If you want to learn more or you would like to book a session with a kinesiologist please contact the clinic via:

We look forward to meeting you!

Soft Tissue Injuries Just Need Some PEACE & LOVE

AdobeStock_438490019.jpeg

You may have heard the acronym RICE before (rest, ice, compression, elevation). This protocol was developed by Dr. Gabe Mirkin in 1978 and remained the primary recommendation for management of acute soft tissue injures (like ankle sprains).

In 1998, it was adjusted to PRICE (protection, rest, ice, compression, elevation). PRICE was en vogue from 1998 until 2012 when the research evolved yet again and we were given the newly named POLICE protocol (protection, optimal load, ice, compression, elevation).

POLICE had some positive changes, especially as it included active participation and appropriate loading rather than just several passive treatments.

But now there is a new kid on the block:

PEACE and LOVE 

The researchers behind PEACE and LOVE are Blaise Dubois and Jean-Francois Esculier. They identified how the previous RICE/PRICE/POLICE strategies ignored the subacute and ongoing stages of healing*. Because the subacute and ongoing stages compose the majority of the post-injury timeline, we welcome suggestions for this phase with open arms.

*We classify injuries as acute in days 0-4 after the injury, subacute from days 4-14, post-acute is after 14 days.

Without further ado, I present to you a protocol that emphasizes the PEACE-ful stages of immediate care, which emphasizes doing no harm, and the subsequent management that gives the soft tissues some LOVE.  

  • P is for PROTECTION: Avoid activities that increase pain during the first few days after an injury.

  • E is for ELEVATION: Elevate the injured limb higher than the heart as often as possible. 

  • A is for AVOID ANTI-INFLAMMATORIES: These medications can reduce tissue healing. Avoid icing. 

  • C is for COMPRESSION: Use elastic bandage or taping to reduce swelling. 

  • E is for EDUCATION: Your body knows best. Avoid unnecessary passive treatments and medical investigations and let nature play its role. 

  • L is for LOAD: Let pain guide your gradual return to normal activities. Your body will tell you when it’s safe to increase load. 

  • O is for OPTIMISM: Condition your brain for optimal recovery by being confident and positive. 

  • V is for VASCULARIZATION: Choose pain-free cardiovascular activities to increase blood flow to repairing tissue.

  • E is for EXERCISE: Restore mobility, strength and proprioception by adopting an active approach to recovery. 


Most of the above is self explanatory but there are a few points which are new or warrant some further explanation. Below are some key points for each factor. 

A for Avoid Anti-Inflammatories

  • Inflammation is a natural and beneficial process to repair damaged soft tissues. 

  • Using anti-inflammatory medications may negatively affect long-term tissue healing.

  • Ice is analgesic but can interrupt regeneration and can lead to impaired tissue repair via disrupting angiogenesis, delaying macrophage and neutrophil infiltration and increasing immature myofibrils. 

E for Educate

  • An active approach to recovery is better than a passive approach. 

  • We want to avoid people feeling therapy-dependent or “needing to get fixed.” 

  • Better education and correct load management can decrease the need for unnecessary injections or surgery.

  • There is no “magic cure” and expectations should be realistic. 

O for Optimism

  • Optimistic clients have better outcomes and prognosis. Beliefs and emotions are thought to explain more of the variation in symptoms following and ankle sprain than the degree of pathophysiology.  

  • Catastrophisation, depression and fear can represent barriers to recovery.

V for Vascularisation

  • Cardiovascular activity is important for the management of musculoskeletal injuries and should be completed in a pain-free way to boost motivation and increase blood flow to the affected area. 

  • Early aerobic exercise and mobilisation improve physical function which can aid with successful return to work and decrease the need for pain medication. 

  • Further research needs to be done for recommendations on dosage. 

E for Exercise

  • Exercise can help restore mobility, strength and proprioception. It can also reduce prevalence of recurrent injuries such as ankle sprains. 

  • Avoiding pain to ensure optimal repair during the subacute phase. Progress exercise as tolerated. 

For the full paper, download it here!

Top Ten: Backpack Tips

AdobeStock_70665822.jpeg

If you’ve seen me around town, I’m usually carrying my bright blue backpack on my shoulders and either zipping around on my bougie cruiser bike (and my new wicker basket!) or walking while zoning out to a podcast. Backpacks are my favourite way to carry my essentials while keeping the weight happily distributed and my hands free.

Like most people I know, I have fallen victim to poor backpack habits in the past. I have definitely been that person in class treating my pack like a clown car, pulling out item after item and desperately trying to find the thing I need. At the end of those days, it was all I could do to pop an Advil and get in the bath - not exactly the smartest thing to do.

So, dear reader, it’s a great time to learn from my mistakes! Let’s go over the essentials of backpack wearing - how much weight is appropriate, how to pack your backpack and what red flags you should pay attention to.

Top Ten Backpack Wearing Tips for Back To School:

AdobeStock_82597624.jpeg
  1. Ensure your pack weighs no more than 10% of your body weight. We commonly hear that 15% is the upper limit, but current research questions this number. Another journal article identifies “significant biomechanical, physiological and discomfort impacts on the wearer, especially with loads above 10% of the student’s body weight”. The take home? Keep it under 10%.

  2. Buying a new pack? Go for wide straps and a padded backing. The cushion will help distribute the weight and make it much more comfortable especially on long days.

  3. While you’re at it, make sure the pack actually fits your back. Try it on (preferably with some weight) - the bottom of the back should be right around hip height and not hitting your bum.

  4. Use both straps. Please, for the love of everything holy, distribute that load across both your shoulders.

  5. If your pack is particularly heavy one day, use the waist strap. It will help keep the load closer to your centre of gravity and distribute some of the weight from your shoulders to your pelvis.

  6. Place heavy things close to your body at the back of the pack. There’s a reason the laptop pouch is at the back of the bag (beyond the whole projecting the valuable thing part) - it keeps the weight close to your body’s centre of gravity and places less stress on your muscles and joints.

  7. Use those multiple compartments. They keep your load spread out and in place, reducing the chance of injury from load shifting.

  8. Putting your backpack on and off should be easy. If you’re struggling, it means your pack is too heavy.

  9. If you’re leaning forward to carry your pack, it’s too heavy. Your backpack shouldn’t be pulling you backwards. If it is, back pain won’t be far behind.

  10. Other signs of too much weight in your pack: neck pain, tingling and/or numbness in your shoulders, arms or hands, and visible strap marks show up on your shoulders. If you start experiencing any of these signs, it’s time to re-evaluate your pack situation ASAP.

We see a lot of poor backpack practices lead to postural changes and pain. Develop good habits early and avoid the problems down the road - you’ll be happy you did!

If you’re suffering with backpack-related pain, give us a shout at (778) 630-8800, email us or book online.

Are Your Nerves Limiting Your Mobility?

Our dance physiotherapist Anh is back! Here, she discusses neural mobility and tension - what it is, why it occurs and why dancers especially should know about its wide-ranging effects.

Hey dancers! Are you or do you know someone who stretches for hours a day, every day of the week and still can’t get into their splits? As dancers we often think about stretching our muscles to improve mobility. But what if it isn’t your muscles that are preventing you from touching your toes or achieving the splits? What if the problem is your nerves?

Your nerves are meant to move freely throughout your body. They connect our brains to our big toes and everything in between.

Neural tension occurs when a nerve’s ability to move has been impeded.

AdobeStock_355420182.jpeg

You can think of your nervous system as a tangle of ropes, extending from your brain to all areas of your body. Imagine one of these thick ropes starting at the top of your head, running down your spine, behind your glutes, down the back of your leg and all the way into the bottom of your foot and toes (this would be your sciatic nerve). If there is a restriction anywhere along the line of this rope, you won’t be able to move your leg the way you should.

Like rope, nerves do not like to be stretched or squeezed - both affect the ability of the nerve to do its job. In order to achieve full range of motion, nerves need to glide back and forth in the body. If a restriction is present and not removed, further stretching can cause irritation of the nerve over time.

So how do I know if it's neural tension that's preventing my mobility and not muscle?

  1. If you are experiencing burning, tingling, numbness, or shooting pain that radiates past the muscle that is being stretched

  2. If the sensation of stretching changes with different head and neck positioning

  3. If the sensation of stretching changes with a change in position of a joint unrelated to the muscle being stretched (ie. stretching your hamstring feels better when your feet are pointed vs when your feet are flexed)

How do I get rid of neural tension?

AdobeStock_332498788.jpeg

First things first - if there’s neural tension, there’s a reason for it. As physiotherapists, we assess and identify the source of the tension. Is there something squeezing the nerve in the back? What about in the glutes or behind the knee? Finding the source of the problem is always the first step.

We then use a combination of techniques including manual therapy, soft tissue massage and specific exercises designed to help settle the tissue down and not reaggravate it.

Without a doubt, nerve flossing comes into play. Nerve flossing is a dynamic stretching technique that mobilizes the nerve. Think of a piece of dental floss: when you are flossing your teeth, you pull on one side of the floss and allow the other side to slacken, then reverse directions. Nerve flossing is the exact same idea - it is performed by tensioning one end of the nerve while slacking the other end.

Nerves control your muscles. If a nerve feels unsafe (like when going from sedentary to being over stretched) it will send signals to the muscle to contract and stiffen. This puts the dancer at risk of muscle strain. It is important to incorporate nerve flossing techniques and movements into your warm and stretch routine. 

For more information on neural tension and its effect on mobility, book online or give us a call at (778) 630-8800.

Ask A Physio: If My Knee Hurts, Why Are You Looking At My Hip?

AdobeStock_200432432.jpeg

As physios, we see bodies differently than most people. This is a good thing - you want your body specialist to see beyond the obvious! But what is often obvious to us is a mystery to others.

You may have heard one of us talking about the kinetic chain, a concept borrowed from the engineering world and repackaged for health care. The basic idea is the movement in one joint will create and affect the movement of the next joint, and so on. If your pain is in your elbow, we would be doing you a disservice if we didn’t also look at your wrist, shoulder, neck and upper back as well.

The kinetic chain is a big reason why one-size-fits-all approaches don’t work.

We don’t tell you to simply Google your symptoms and treat yourself. One person’s treatment approach for sciatica will be completely different than the next. My grandma’s elbow pain often has a completely different cause than my daughter’s elbow pain, even if they are in the same spot. Looking at the body as a whole is imperative to proper treatment.

A Case Study in Kinetic Chains: Runner’s Knee

A great example of this is someone with runner’s knee, also known as patellofemoral syndrome (PFPS). To understand how PFPS develops, an understanding of knee biomechanics is crucial.

The patella (aka the kneecap) rides in a groove on the femur at the front of the knee and is critical for proper knee movement. The patella acts as the attachment point for ALL your quads - think of how much muscle that is! To stretch out your leg, your quads first contract and pull on the patella. The force is transmitted through the patellar tendon (or ligament, depending on who you read) and pulls on the tibia, the main bone of your lower leg. Without the patella, the amount of force required for the quads to unbend the knee is simply too great. The patella acts as a fulcrum, giving the quads a mechanical advantage.

Need a visual? Check out this fantastic video:

Muscle imbalance is one of the main causes of PFPS. The patella is held in its position by a fine balance of muscle and connective tissue. Muscles that attach to the patella directly - we’re talking about the quads here - are obviously a main focus. But there’s many more muscles to consider. Consider these two examples:

AdobeStock_348335712.jpeg
  1. One cause of PFPS is tight calf muscles. The gastrocnemius, one of the calf muscles, attaches at the back of the leg above the knee and can have a great effect on knee function. When these muscles are too tight, people tend to walk more in a pronated foot position (see photo on the right), increasing the forces at the back of the knee and adding to the compression and irritation of tissues around the patella.

  2. The IT band runs the length of the thigh on the outside of the leg and attaches to the outside of the patella. The gluteus maximus, the large muscle in your buttock that controls hip extension, attaches into the top of the IT band. If the glutes aren’t doing their job, you can experience knee pain even if it isn’t the source of the problem.

We don’t expect you to know the ins and outs of this - that’s our job! When you come in for a little rehab, don’t be surprised when we start checking out your other joints - you may be surprised by what we find.

If you need to see a physiotherapist, give us a call at (778) 630-8800, email us or book online. We would love to work with you!

Getting Rid of Plantar Fasciitis

AdobeStock_148003092.jpeg

It’s coming up to that season - heel pain season! When we all go from wearing our supportive boots and shoes throughout fall and winter to popping on those flip flops as soon as it hits 15 degrees. Every summer we see an uptick in people complaining of heel pain: a stabbing pain smack in the heel first thing in the morning that sometimes lessens with walking, sometimes not. And when we touch that point on your foot that hurts? You go through the roof.

Read all about plantar fasciitis - the hallmarks of the condition, how we treat it and our top five tips on how to prevent it from coming back.


Plantar fasciitis is the most common cause of heel or “rearfoot” pain. It is most commonly the result of overuse of the plantar fascia (aka plantar aponeurosis), a thick band of connective tissue that runs from the heel to the toes on the bottom of the foot. The plantar fascia has a lot of important jobs in the foot:

AdobeStock_164854183.jpeg
  1. Protection of blood vessels and nerves - like any part of your body, the network of vessels and nerves is dense and required to keep your tissues healthy. The plantar fascia lines of the bottom of the foot and acts as a suit of armour for anything you may step on.

  2. Site of muscle attachment - a bunch of the little muscles that control the toes attach directly onto the plantar fascia.

  3. Helps to maintain your arch - take off your shoe and admire the curves of your foot. Some of those curves are brought to you by the plantar fascia!

  4. Shock absorption and distribution of forces when standing and walking - arguably the most important role of the plantar fascia, it is integral to a healthy foot when walking and running.

AdobeStock_355114152.jpeg

Think of the plantar fascia as the string on a bow - the tension on that string maintains the integrity of the whole bow and provides explosive force for the arrow.

With every step you take, that downward force is absorbed by your plantar fascia. When you roll over your foot and propel off your big toe, your plantar fascia recoils and transfers some of that absorbed energy into forward momentum. Your foot is then returned to its curvy shape, ready to absorb the next step.

But if your bow is only as good as your bowstring, what happens when it starts to fray?

Hallmarks of Plantar Fasciitis

The person with plantar fasciitis will generally complain of the following:

  • A gradual onset of pain

  • Pain in a specific spot on the heel that is tender when palpated

  • Worse in the morning, especially when getting out of bed for the first few steps

  • Pain typically decreases with activity unless it’s been going on for awhile, in which case it just hurts all the time


There have been several risk factors associated with developing plantar fasciitis. These include:

  • Increased training volume and/or number of practice days per week - this is the big one. Overuse injuries happen when the tissue is stressed too much and isn’t allowed to rest and regenerate.

  • Anatomical variations - Varus knees (aka bow-legged) and high-arched feet both lead to a higher incidence of plantar fasciitis.

  • Use of spiked athletic shoes or cleats

  • Standing work - those who stand at work all day are a bit more likely to develop plantar fasciitis.

  • Lack of flexibility and strength in the lower extremities - Tight calves? Weak toe muscles? What about your hamstrings and glutes? All these contribute to how to walk and how those forces go through and are absorbed by your feet.

One area of debate in the risk factor world is the link between BMI and plantar fasciitis. While it has been suggested in several studies that those with a higher BMI are more likely to develop plantar fasciitis, additional studies of athletes with a range of BMIs have not found a significant difference in likelihood of developing plantar fasciitis. A sedentary lifestyle is associated with a higher BMI and therefore weaker muscles so it may be that instead of weight being a risk factor for plantar fasciitis, it’s the lack of strength and flexibility that’s the issue at play.

Getting Back to Function

Plantar fasciitis is something we see in the clinic every day. Typically, rehab goes a little something like this:

AdobeStock_130931215.jpeg
  1. Settle the tissue down - like every overuse injury, we have to settle it down before we build it back up. This may mean LASER or ultrasound. This may mean massaging the tissue, either with a frozen golf ball or with our hands. This may mean supporting the foot with a gel heel pad or heel lift to temporarily provide some of that cushioning. There are lots of options to settle it down, we just have to figure out the combination that works for you.

  2. Tape it - supporting the foot through tape, especially when its aggravated, can be really helpful. There are a variety of tape jobs that are used depending on your specific issues.

  3. Ice it - I’m a fan of frozen golf balls. You can pop them on the ground and roll the bottom of your foot out on them, giving yourself a soothing ice massage.

  4. Stretch the tight things - without a doubt, this means calves. If you come in for physiotherapy for a plantar fasciitis, expect this from day one. The plantar fascia can be thought of as a continuation of the Achilles tendon, which connects the bulky calf muscles (the soleus and gastrocnemius) to the heel. Stretching and maintaining the length of the calf muscles helps cut down on the stress through the plantar fascia - loosening the bowstring, in a way. There may be more things tight as well, from your quads and hamstrings to other muscles up the chain.

  5. Strengthen the weak things - again, we need to look at the whole chain. How are your quads? What about your glutes? Is your core working the way it should? We also need to look at those little muscles in your foot that support your arch and attach into the plantar fascia as they likely need some attention of their own.

What About Footwear and Orthotics?

Proper footwear is incredibly important in the prevention and management of plantar fasciitis. With summer coming, we reached out to our friends at the Run Inn for their recommendations on plantar fascia-friendly sandals for the summer:

 
  • Hoka Slides - another great option for warmer weather, Hokas are nicely cushioned with great support for those with plantar fasciitis.


Once the pain settles down, getting appropriate footwear for your feet will help keep plantar fasciitis and other foot problems at bay. There are several factors that go into finding the right shoe for you - the last, the toe box, the rise… I could go on.

As with anything shoe-related, do not buy them online without being fitted first! Go to a local store that knows their stuff - for us, that’s definitely the Run Inn - and get fitted properly. Different bodies and different feet demand different support! They also have a range of over the counter orthotics that may help as well.

For some, custom orthotics is the way to go. Finding a local pedorthist - someone who is an expert in the foot and all things foot orthotics - is key. We are lucky enough to have a great group in Ladner, West Coast Pedorthics. They are fantastic, informative and thorough - we highly recommend them!

It’s Gone! How Do I Stop It From Coming Back?

Plantar fasciitis can take months to finally go along its merry way. Once it’s gone, these habits will help keep it that way:

Top Five Tips For Preventing Plantar Fasciitis

  1. Wear good shoes all year round - make sure the sandals you choose to wear in the summer are just as supportive as the shoes you wear the rest of the year. Cheap flip flops are not your friend! Remember that all feet are different and demand different supports - get your feet fitted properly by shoe experts.

  2. Keep your calves long and supple - a tight calf is plantar fasciitis’s best friend. Download this PDF for instructions on how to stretch both your gastrocs and soleus.

  3. Untuck your bed sheets at night - when the sheets of your bed are tucked at the bottom, it forces your feet to be more pointed and shortens your calves. Sleeping with loose bed sheets allow your ankles and feet more freedom of movement.

  4. Plan and pace your running and walking - Nicole did a great three part series on injury prevention in running, all of which can equally be applied to walking. Follow her tips on adjusting your running and walking volume, foot strike and strength training.

  5. Maintain a healthy weight and exercise routine - it is clear that a healthy BMI combined with a regular exercise program helps keep the plantar fascia healthy.


Are you experiencing foot pain? Book an appointment online, through email or by calling (778) 630-8800 - we will help you figure out what’s going on and how to get it under control.

Runner's Knee

AdobeStock_314356800.jpeg

Patellofemoral Syndrome is a classic injury that causes pain around your kneecap. It is also something that I myself am dealing with right now. Also known as “Runner’s Knee,” it’s usually a dull achy pain that is worse with going up and down stairs, running, jumping and squatting. It can also get cranky when you sit with your knees bent for a prolonged period of time such as watching a movie. It is very common and the cause can be multifactorial, so I am hoping that this post will give you a basic understanding of what may be going on with your knee.

Inside The Knee

First, let’s go over the anatomy of your knee shall we? Your knee is actually more than one joint! There is the big joint between your femur (thigh bone) and your tibia (shin bone), but there is also a joint between your femur and your patella (kneecap). In fact, your patella sits in a little groove at the base of the femur and when you bend or straighten your knee the patella glides up and down it’s little groove.

knee.jpg

This is all fun and games until it starts to hurt. There are generally a few contributing factors for patellofemoral pain, I have listed a few of the more common culprits below:

  • Overuse: Activities that require high levels of repetitive stress on your joints are more likely to cause Patellofemoral Syndrome. All of that running and jumping can cause irritation underneath the kneecap as it rubs up and down over the femur.

  • Alignment Issues between your hips, knees and ankles: If your hip muscles are weak then your form can suffer. Have you ever done a squat and noticed that your knee kind of collapsed into the midline rather than staying aligned and straight? That is hard on your knee. People with that technique error have a higher incidence of Patellofemoral Syndrome. If you can’t control your knee when you are standing still you are most likely not in control when you are running or jumping or stepping off of a curb either. If you do something incorrectly for about 30-60 minutes straight & 3-5 times per week, that can result in a LOT of misdirected force.

  • Women are more prone than men to patellofemoral injury: It is speculated that this is because of wider hips (so the knees more naturally bias inwards). Strengthening your outer hip muscles (such as the gluteus medius) can help prevent or correct the inward collapse of your knee.

  • Muscle imbalances: There are four separate parts to your quadriceps (the big muscles on the front of your thigh). If the outer muscle is stronger than the inner muscle (which is often is) then the patella gets tugged toward the strong side. This also can cause it to track improperly in its little groove.

  • Inappropriate footwear:  If you overpronate or have flat feet you could likely benefit from a shoe that has cushion and support rather than a minimalist shoe.

  • Being overweight: When you are going down stairs your knee experiences three times your body weight in forces and pressure. If you weigh 200lbs then each knee is taking 600lbs. The forces are even higher (4-5 times your body weight) when you squat to tie a shoelace or pick something up off of the floor.

  • An injury: Falling on your knee or dislocating a kneecap can increase chances of patellofemoral pain.

What Can I Do About It?

Because patellofemoral pain is multifactorial, there is generally not one simple answer that will give you a quick fix (bummer, I know). For this reason, I strongly suggest making an appointment with a physiotherapist so they can properly assess your personal situation. Treatment will involve the following:

  • Addressing your risk factors and will likely include strengthening your quads and your hips

  • Suggestions for altering your current training program will also be made

  • Tape may also be helpful to alleviate painful symptoms temporarily

FAQ: Is biking instead of running a good option?

The is by far the most common question I get from runners with knee pain who are looking to maintain their cardio and activity levels while they rehab their knees.

My answer? Maybe, but not necessarily.

I know that is an extremely vague answer but here is why. Although biking has less overall force going through your knees compared to running, it is still a repetitive activity that involves a lot of knee bending and straightening. If your seat is too low or too far forward this can make your knee bend too much with each revolution, putting unnecessary excess force through the knee. Also, having the gear of your bike too high can cause increased force through the knee. For some people it is a viable alternative to running while others find that biking is still too aggravating. It really needs to be assessed on a case-by-case basis.

For those who are curious this is how I ended up with my sore knees…

I popped both of my children (40lbs each) into a bike trailer and proceeded to ride for 20+km while hauling them behind me. It was my first time riding my bike in several months, my seat was too low, the load was too high, and the volume was too much. Should I have known better? Probably. Was it a fun day? Absolutely. Will I rehab my knees back up to running the distances I want and get back to squats with resistance? Of course! Will it take some time and patience……. Also yes.

Good luck running out there everybody!

As always, if you find yourself battling a running injury of any kind please call us at 778-630-8800 to make an appointment with one of our skilled physiotherapists so we can get you back on track as soon as possible.

The Rotator Cuff

A few years ago, I took my then three year old daughter skiing for the first time. It was exhilarating! I held her between my legs as we swooshed down the hill, both of us giggling the whole way down. On the second run she wanted to try by herself, so I went a bit ahead to catch her. Down she comes and I grab her with my left arm, feeling a crunch and a bit of a snap in my shoulder as I did. Uh oh, I thought - did I just feel that? My shoulder was sore but we skied another run, had some celebratory hot chocolate and went home.

The next morning, I couldn’t lift my arm without intense pain. Washing my hair was next to impossible. It was agony. I knew I had damaged my rotator cuff and it was time to get to work.

What is the rotator cuff?

AdobeStock_160639002.jpeg

The rotator cuff is a group of 4 muscles - the supraspinatus, infraspinatus, Teres minor and subscapularis (not pictured - lives on the underside of the shoulder blade) - that attach the humerus (aka the upper arm bone) to the scapula (aka the shoulder blade). These muscles aren’t big - the supraspinatus is roughly as thick as my thumb! For the amount of work these muscles do, they certainly aren’t as beefy as you would think.

What does the rotator cuff do?

The rotator cuff has 4 main jobs:

  1. Supports the shoulder capsule - have you ever eaten chicken wings and noticed the white little nubbin that connects the bones? That, dear reader, is a capsule! A capsule surrounds every movable joint in your body, protecting it and making sure the synovial fluid (aka the lubricating fluid) greases those hinges, so to speak. The rotator cuff surrounds and helps support the shoulder capsule, giving it more structural integrity as the shoulder moves through its incredible range of movement.

  2. Keeps the shoulder in its socket - if you look at the bones of the shoulder and strip away everything else, it looks like a really big golf ball on a golf tee. The rotator cuff acts like bungee cords attaching that golf ball down to the tee - a few springs to help guide the shoulder to where it should be.

  3. Moves the shoulder - this is where the “rotator cuff” gets its name from: it rotates the shoulder! These four muscles are key to lifting your arm up to your side and getting your hand to reach up behind your head and your back. If you’ve ever had issues with your rotator cuff, you’ll know things like putting on deodorant, putting on a jacket or reaching for your seat belt in the car are particularly problematic.

  4. Fine tunes the shoulder movements - not only do these muscles move the shoulder but they also act to smooth and fine tune movements. Think of when you’re reaching for that glass of wine - you want your movements to be as smooth and accurate as possible. Your rotator cuff is one reason for your successful wine grab!

How do you injure your rotator cuff?

AdobeStock_200284683.jpg

There are two main ways people injure their rotator cuffs:

  1. Overuse and repetitive strain - anyone who uses their shoulders a lot, especially with overhead movements, are susceptible to rotator cuff strains. Baseball players, electricians, carpenters and hair stylists are perfect examples of people who often have their arms up and aggravate their shoulders over time.

  2. Acute strain - this is just like my story above. It may be your dog pulling unexpectedly on their leash or your toddler jumping into your arms when you weren’t quite expecting them to jump.

Once it’s injured, how do you fix it?

There are two main keys to shoulder rehabilitation:

  1. Posture - posture is key to shoulder health. Remember that the rotator cuff muscles attach the shoulder blade to the humerus. When someone sits with rounded shoulders, their shoulder blades sit further away from their spine and at more of an angle. This means the humerus sits more forward in the socket and puts the rotator cuff muscles in a disadvantageous position - they have to work a lot harder to function. Over time, this leads to degradation of the rotator cuff. When you have proper posture, your shoulder blades are much more likely to sit back where they should, allowing your rotator cuff to work properly.

  2. Strength - this is key to everything, isn’t it? For your rotator cuff to be working, it needs to be strong. But it’s just not the rotator cuff, it’s everything else that interacts with the shoulder - rhomboids, traps, lats, biceps, triceps, I could go on! - as well as everything that’s involved with posture. That. Is. A. Lot. And while it can seem overwhelming, that’s where we as physiotherapists come in. This is where we guide you on what to do and when, with how much weight and when you can move on to harder things.

For more information on rotator cuff rehabilitation, check out Physio-Pedia’s page on the rotator cuff.

AdobeStock_265616407.jpeg

Shoulders are dynamic - they have a huge range of movement and we use them all day. When pain sets in, it can often feel like they will never get better. But with a proper assessment, we can figure out why your shoulder is hurting, get to the source of the problem and do something about it.

If you would like to have one of our therapists look at your shoulder - or anything else! - give us a call at (778) 630-8800 or email us at clinic@ladnervillagephysio.com.