Shockwave therapy has rapidly gained popularity in physiotherapy for its non-invasive and effective treatment of a whole host of conditions. By utilizing acoustic waves, shockwave therapy enhances tissue healing, reduces pain, and promotes recovery in many chronic conditions.
Wondering if shockwave is for you? Here are the top 10 conditions treated by shockwave therapy:
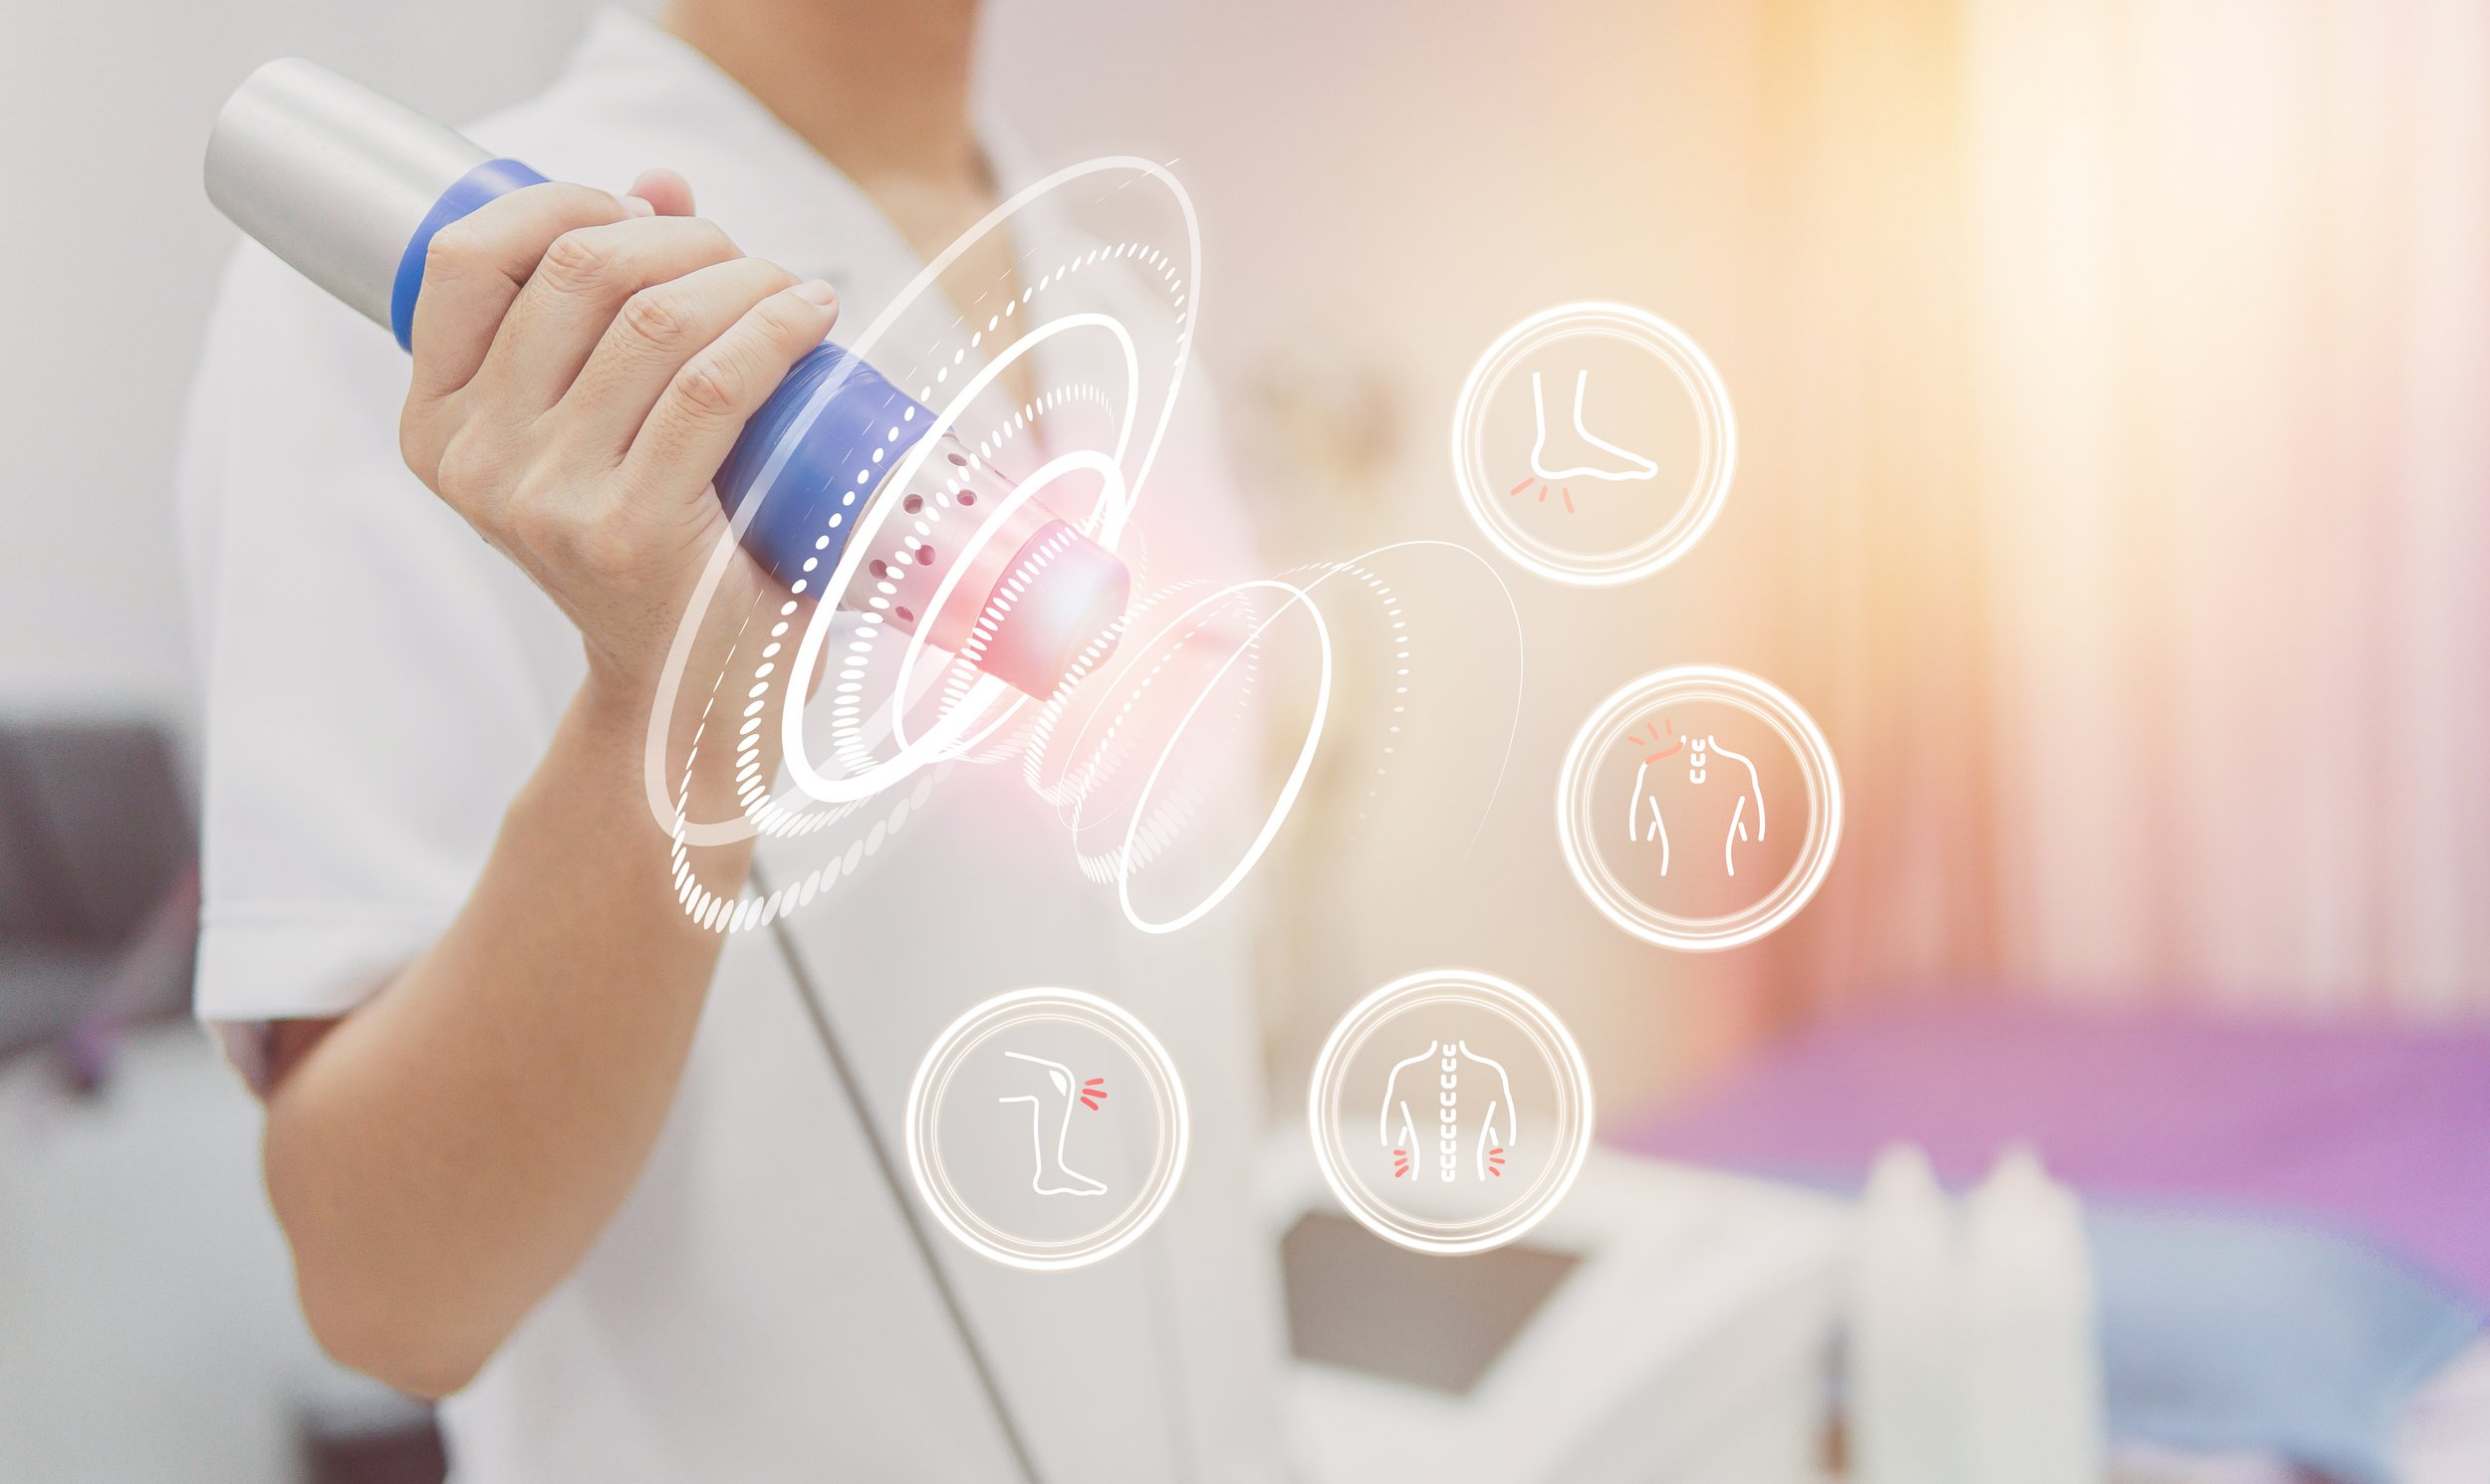
Top Ten Targets of Shockwave Therapy
1. Plantar Fasciitis
One of the most common causes of heel pain, plantar fasciitis occurs when the thick band of tissue connecting your heel to your toes becomes inflamed. Patients with plantar fasciitis often experience stabbing pain, particularly after periods of rest. Shockwave therapy is effective in breaking up the scar tissue and calcifications that may form in the plantar fascia, stimulating healing and reducing pain. It also promotes blood flow to the affected area, speeding up recovery and reducing inflammation.

2. Achilles Tendinopathy
Achilles tendinopathy (aka Achilles tendinitis) is typically caused by overuse or repetitive stress. Athletes, runners, and individuals with a high level of physical activity are particularly prone to this condition. Shockwave therapy helps by promoting the growth of new blood vessels (angiogenesis), increasing collagen production, and stimulating tissue regeneration. This allows for faster healing of the damaged tendon, while also reducing pain and inflammation.
3. Rotator Cuff Tendinitis
The rotator cuff is a group of muscles and tendons that surround the shoulder joint. Inflammation or degeneration of these tendons can lead to rotator cuff tendinitis, causing significant shoulder pain and restricted movement. Shockwave therapy has shown remarkable results in treating this condition by stimulating tendon repair, improving blood flow, and accelerating the regeneration of damaged tissue. It can also help break down calcific deposits in cases of calcific tendinitis.

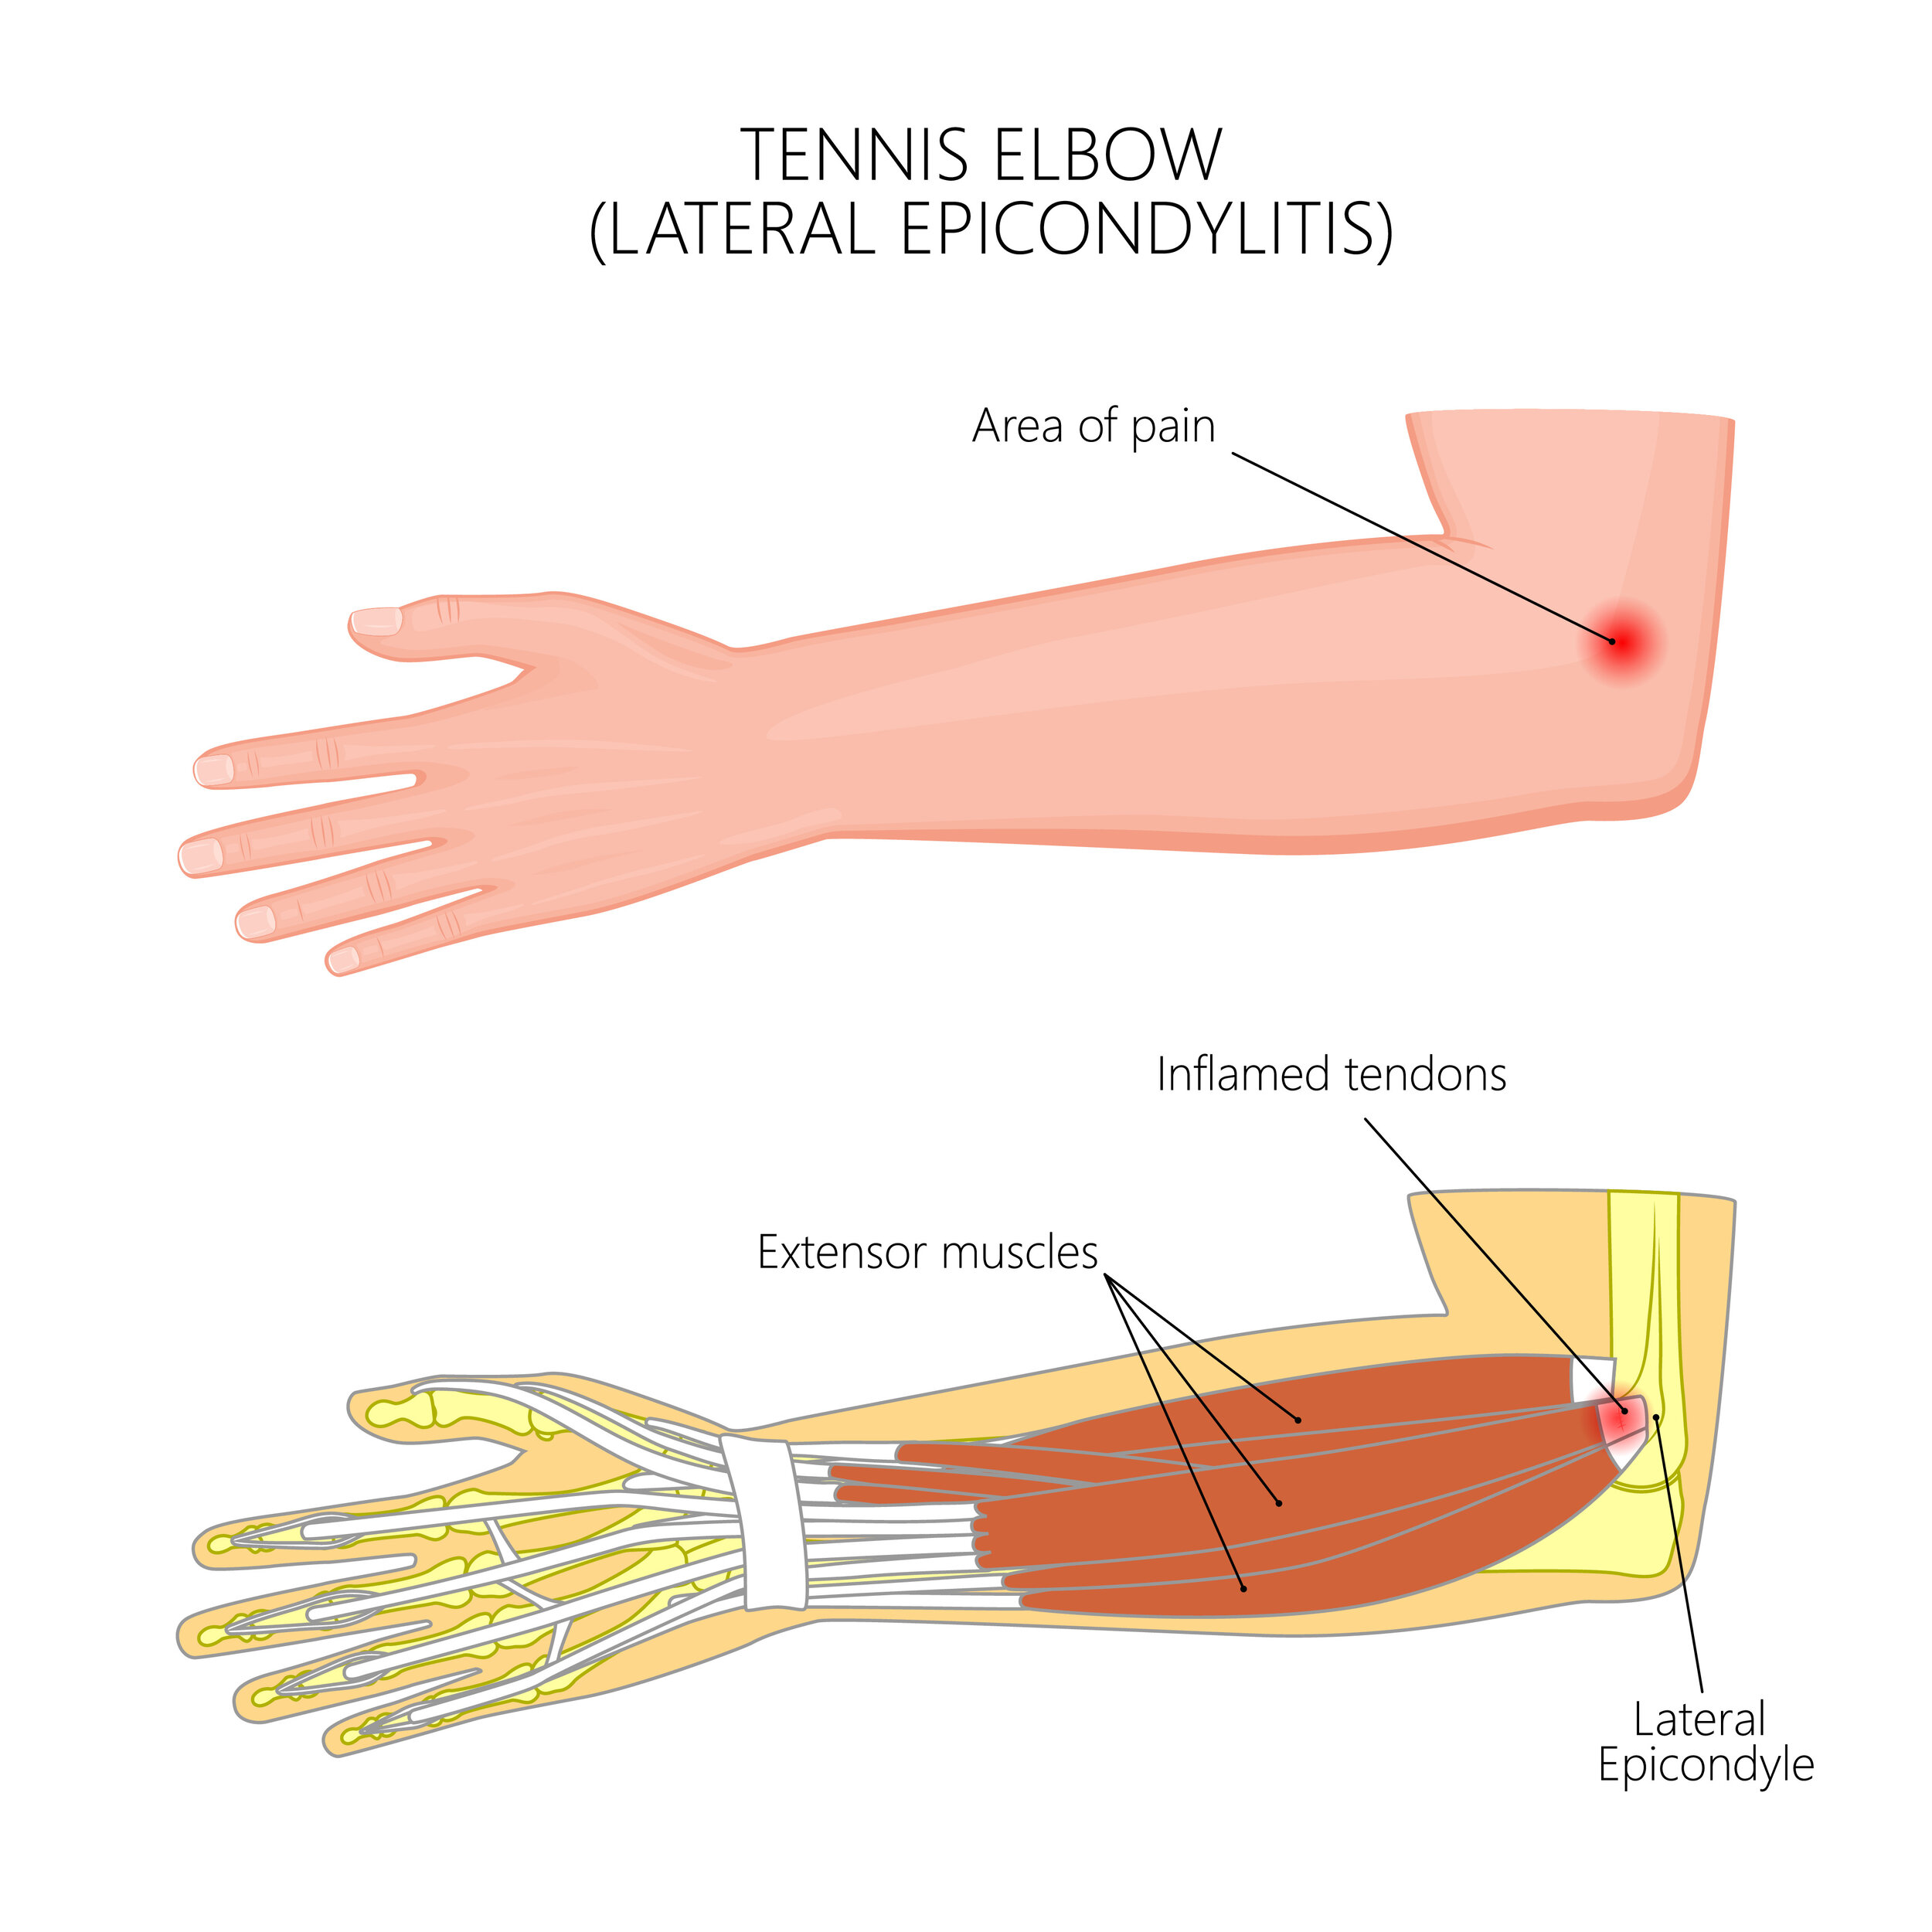
4. Tennis Elbow (Lateral Epicondylitis)
Also known as lateral epicondylitis, tennis elbow is a painful condition that occurs when the tendons in the elbow are overloaded, often by repetitive motions. Shockwave therapy works by targeting the affected area, reducing inflammation, and promoting collagen production. This aids in the repair of damaged tissue, helping individuals return to their daily activities with reduced pain and improved functionality.
5. Golfer’s Elbow (Medial Epicondylitis)
Similar to tennis elbow but affecting the inner side of the elbow, golfer’s elbow (medial epicondylitis) causes pain and tenderness due to overuse of the forearm muscles. Shockwave therapy is effective in breaking down scar tissue, promoting tissue healing, and reducing inflammation. It helps patients regain strength and mobility, making it easier to perform both daily tasks and sports activities.

6. Patellar Tendinopathy (Jumper’s Knee)
Patellar tendinopathy, also known as jumper’s knee, is a condition commonly seen in athletes involved in jumping sports such as basketball and volleyball. It involves the degeneration of the patellar tendon, leading to pain and limited movement in the knee. Shockwave therapy stimulates collagen production and enhances blood flow, which helps to repair the damaged tendon and reduce pain.
7. Calcific Tendinopathy
Calcific tendinopathy occurs when calcium deposits form within a tendon, most commonly in the shoulder. This condition can cause significant pain and restrict movement. Shockwave therapy is particularly effective for calcific tendinopathy as it helps break down the calcifications, reducing pain and restoring mobility. It also stimulates the body's natural healing process, allowing for long-term relief from symptoms.
8. Myofascial Pain Syndrome
Myofascial pain syndrome is a chronic pain condition that affects the muscles and the fascia (connective tissue around the muscles). It is characterized by trigger points—tight, painful knots that form in muscles. Shockwave therapy helps to relax muscle tension and deactivate these trigger points, providing relief from pain and improving muscle function. This is especially helpful for individuals dealing with long-standing muscle stiffness and discomfort.

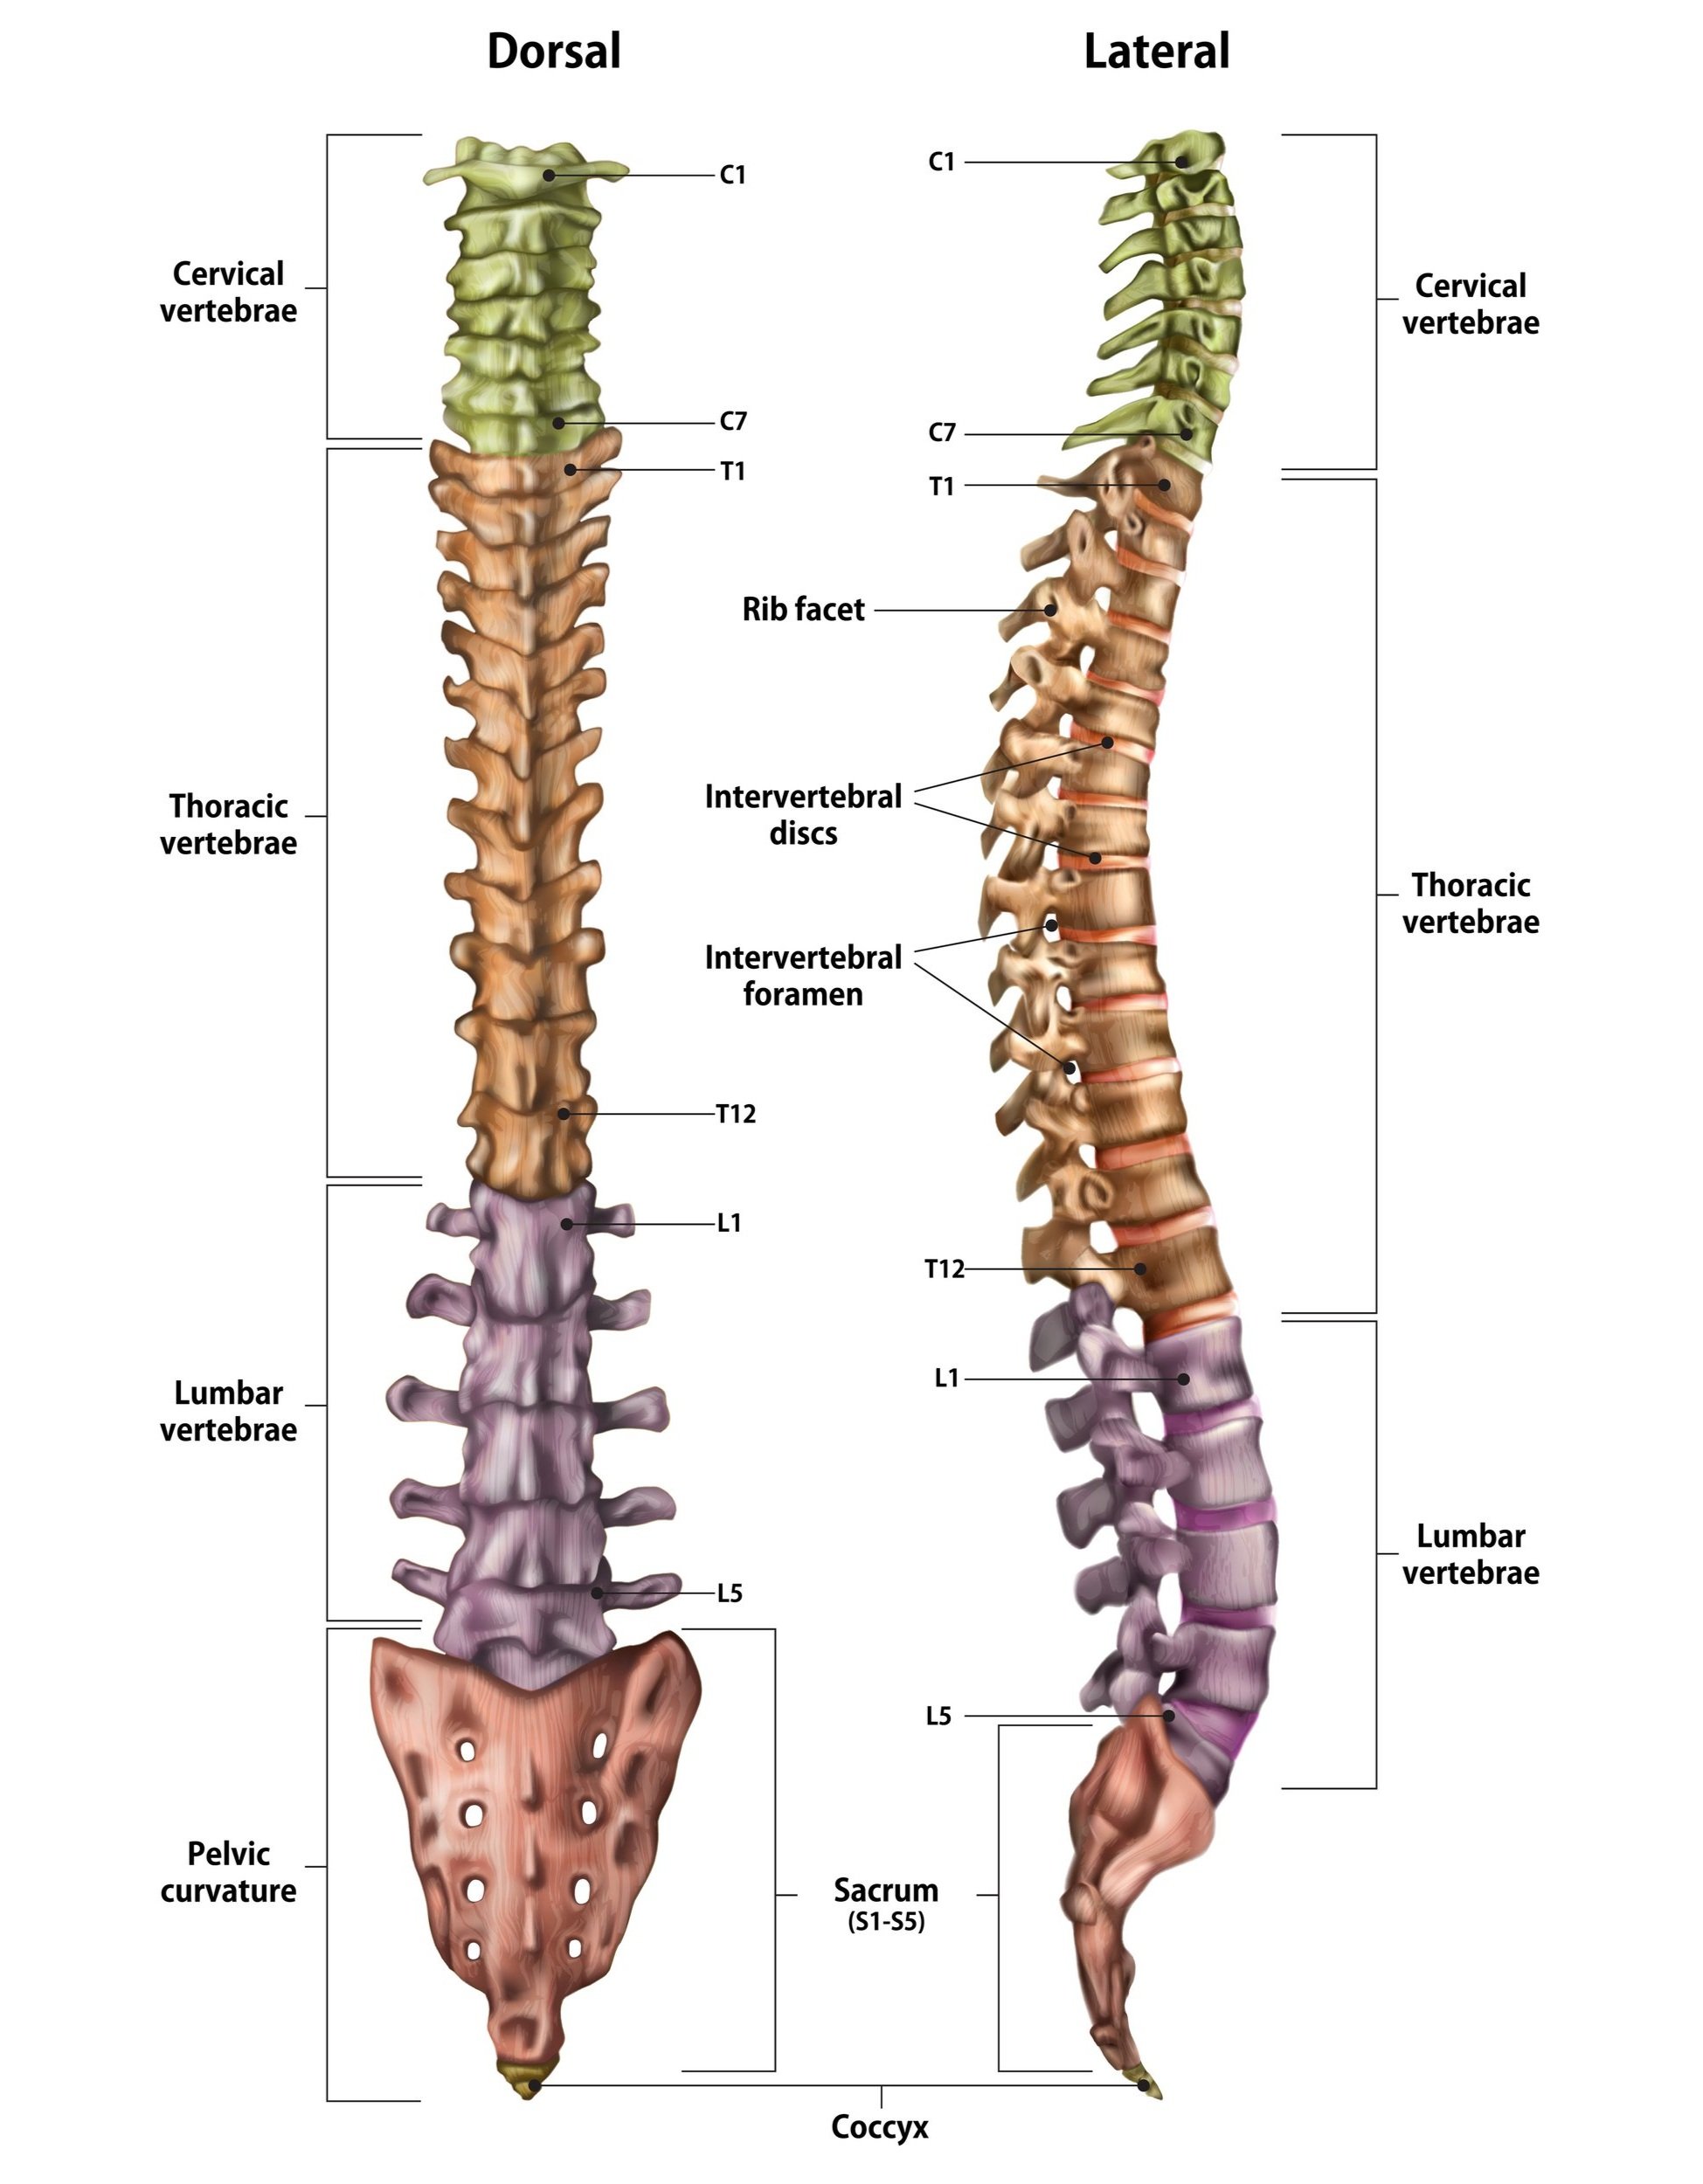
9. Chronic Low Back Pain
Chronic low back pain can result from a variety of conditions, including muscle strain, disc degeneration, or inflammation. Shockwave therapy can be used as part of a comprehensive treatment plan for chronic low back pain, helping to reduce pain by increasing blood flow to the affected area and promoting tissue regeneration. It also aids in breaking the cycle of chronic inflammation, allowing for long-term improvements in mobility and comfort.
10. De Quervain’s Tenosynovitis
De Quervain’s tenosynovitis is a painful condition affecting the tendons on the thumb side of the wrist. Repetitive motions such as gripping, grasping, or lifting can aggravate the condition. Shockwave therapy is effective in reducing inflammation, breaking down scar tissue, and stimulating the healing process in the affected tendons. It offers a non-invasive option for pain relief and improved wrist function, helping patients return to normal daily activities.
The Power of Shockwave Therapy
Shockwave therapy is particularly useful for chronic conditions, where traditional treatment methods may have failed or provided only temporary relief. By addressing the underlying causes of tissue damage, inflammation, and pain, shockwave therapy can provide long-lasting benefits, making it an attractive option for those seeking non-surgical interventions.
If you’re suffering from any of the conditions listed above, or if you’re curious whether shockwave therapy could be the solution for you, consider consulting with a physiotherapist trained in this advanced technique. The potential to relieve pain, improve function, and get you back to doing the things you love is just a shockwave away.
Ready to book? Book online, email us or give us a call at (778) 630-8800.